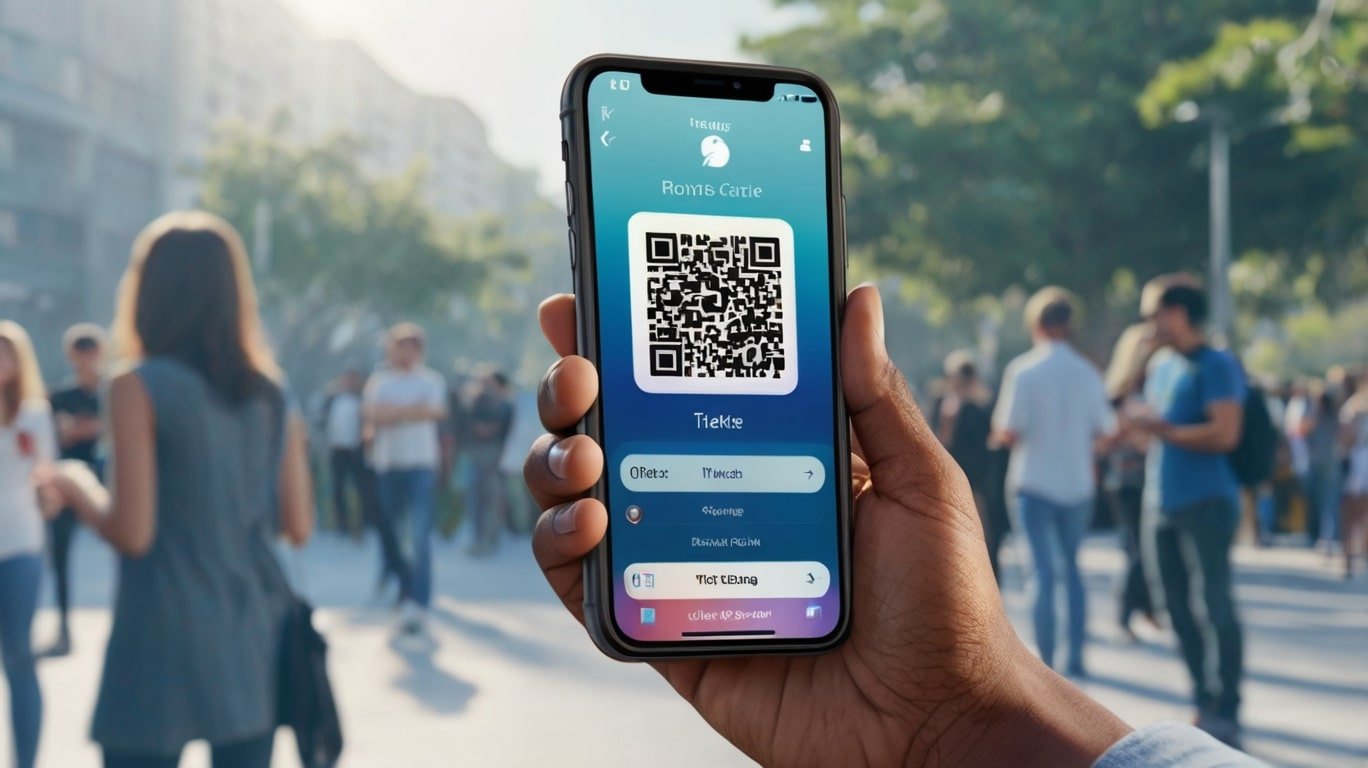
Apple Wallet is a convenient app for storing tickets, passes, and cards on your iPhone. Sometimes, you may need to share or transfer tickets to friends or family. Whether it’s for a concert, a flight, or an event, Apple Wallet makes the process straightforward. This guide walks you through the steps to transfer tickets securely and efficiently.
What You Need to Get Started
Before transferring tickets, ensure you have:
- An updated version of iOS on your iPhone.
- The ticket already added to your Apple Wallet.
- The recipient’s phone number or email address, if required.
Step-by-Step Guide to Transfer Tickets
1. Open the Apple Wallet App
- Locate the Apple Wallet app on your iPhone’s home screen.
- Tap to open it and view all your stored passes and tickets.
2. Select the Ticket to Transfer
- Scroll through your Apple Wallet and find the ticket you want to share.
- Tap on the ticket to expand it for detailed viewing.
3. Access the Sharing Options
- Look for the Share icon, usually represented by an arrow pointing out of a square. This icon is often at the bottom or top of the screen, depending on the ticket issuer.
- Tap the Share icon to view sharing options.
4. Choose Your Sharing Method
You will typically see multiple sharing options, such as:
- iMessage or SMS: Select this option to send the ticket directly to someone’s phone number.
- Email: If the recipient prefers email, you can send the ticket as an attachment.
- AirDrop: If the recipient is nearby and has an Apple device, use AirDrop for quick and secure sharing.
5. Send the Ticket
- Follow the prompts for the selected sharing method. For instance:
- For AirDrop, choose the recipient’s device name from the list.
- For iMessage or email, type the recipient’s contact information and hit Send.
Important Notes and Troubleshooting
1. Ticket Issuer Restrictions
Some tickets or passes may have restrictions on sharing due to security policies or fraud prevention. Always check the ticket’s terms and conditions.
2. Recipient Device Compatibility
Ensure the recipient has a compatible device to receive and use the ticket. For example, they need an iPhone with Apple Wallet or a smartphone that supports similar digital ticketing platforms.
3. Issues with Sharing
If you encounter problems while sharing:
- Restart your iPhone and try again.
- Update your iOS to the latest version.
- Contact the ticket issuer for assistance.
Alternative: Share QR Code
If the sharing options are unavailable, you can also share tickets using the QR code:
- Open the ticket in Apple Wallet.
- Take a screenshot of the ticket’s QR code.
- Send the screenshot via messaging apps or email.
Note: Only use this method if the issuer allows QR code sharing, as some tickets link usage to specific devices for security reasons.
Conclusion
Transferring tickets from Apple Wallet is simple and user-friendly, making it easy to share passes with friends or family. By following the steps outlined above, you can ensure a smooth and secure ticket transfer. Always double-check recipient compatibility and issuer restrictions to avoid last-minute issues. With these tips, you’re all set to share the excitement of events and experiences hassle-free!


