Monthly Mac maintenance doesn’t need to take long. Check your storage, review startup items, run a Software Update, and back up with Time Machine. The whole routine takes under 20 minutes and keeps your Mac running smoothly year after year. Avoid third-party “cleaner” apps — most do more harm than good.
Most people wait until their Mac feels sluggish, starts crashing, or runs out of storage before doing anything about it. By that point, small problems have usually turned into bigger ones.
The good news is that keeping a Mac in good shape doesn’t require technical knowledge or expensive software. A handful of simple checks once a month takes about 15–20 minutes and prevents the kind of gradual slowdown that makes people think they need a new computer — when they don’t.
This guide gives you a clear, honest monthly checklist of what to do, what to skip, and what to actively avoid. Every step here is something Apple either recommends or that genuinely makes a difference in real-world use.
Related: MacBook Not Charging? Before You Replace the Charger
▶ Watch the full video walkthrough on the CrazyErrors YouTube channel
Why Monthly Maintenance Actually Matters
A Mac doesn’t degrade the way an old car does. The hardware doesn’t wear out from normal use, and macOS is generally stable. But a few things accumulate silently in the background over time: storage fills up, startup processes multiply, caches grow stale, and software falls behind on updates. None of these cause an immediate crisis — they just slowly make everything feel heavier.
Running through a short monthly check catches these things before they stack up. Think of it as clearing the desk rather than waiting until you can’t find anything.
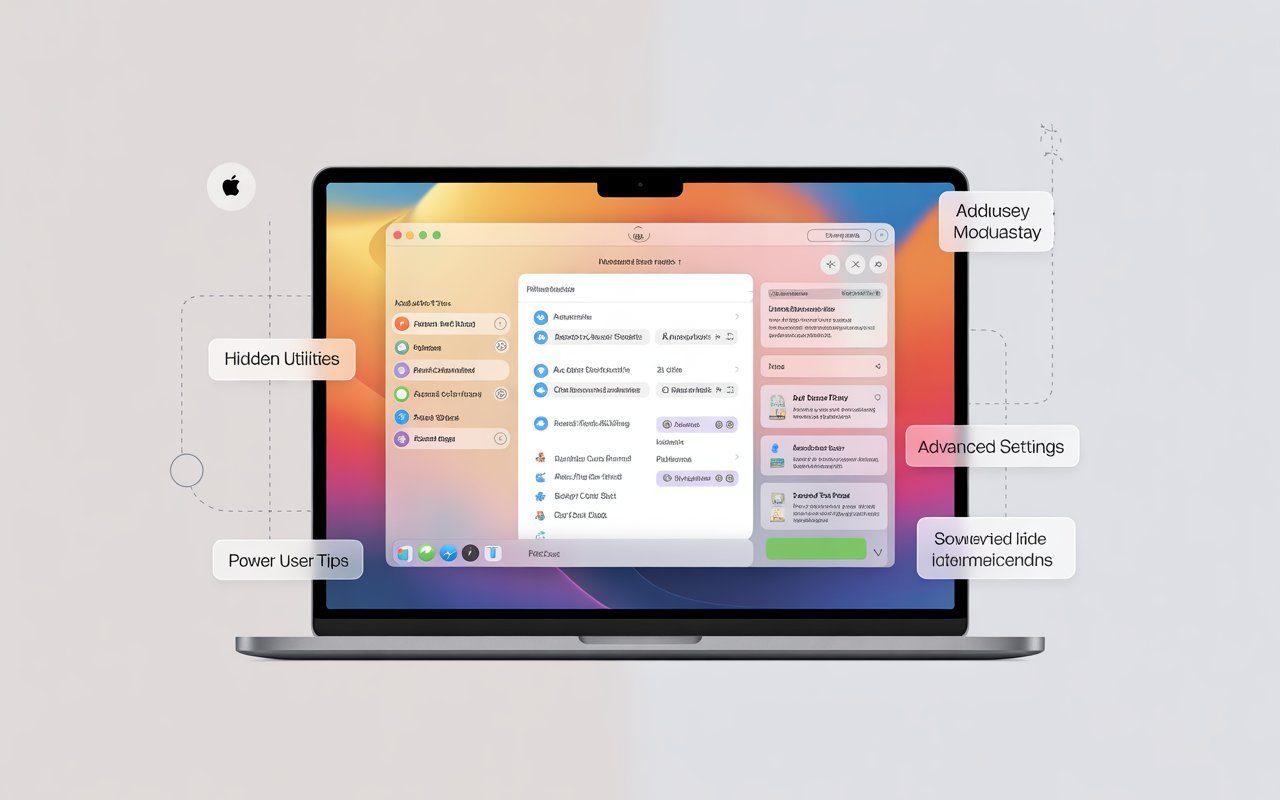
Step 1: Check Your Storage and Free Up Space
Storage is one of the most common causes of Mac slowdowns. macOS needs free space to create temporary files, run virtual memory, and complete tasks in the background. When your drive fills up past about 85% capacity, things start to slow noticeably.
How to check your current storage:
- Click the Apple menu in the top-left corner.
- Select About This Mac.
- Click More Info, then Storage Settings. You’ll see a breakdown of what’s using space.
What to look for and clear:
- Empty the Trash — files in Trash still use space until emptied (right-click the Trash icon → Empty Trash)
- Clear Downloads folder — remove installers, zip files, and anything you no longer need
- Delete duplicate photos or screenshots — these pile up faster than most people realise
- Review large files — in Storage Settings, click the arrow next to any category to see what’s taking up the most room
- Offload unused apps — if you haven’t opened something in months, move it to an external drive or delete it
The “Optimise Storage” option:
In Storage Settings you’ll see an “Optimise” button. This moves older files like watched Apple TV films and email attachments to iCloud when your local drive is getting full. It’s safe to enable if you have an iCloud subscription and a reliable internet connection.
Step 2: Review and Trim Your Login Items
Login items are apps and processes that launch automatically every time you start your Mac. They’re one of the sneakiest causes of slow startups and background resource use — most people add them without realising it, and they never get cleaned up.
How to check and remove login items:
- Click the Apple menu → System Settings.
- Select General → Login Items & Extensions.
- Review the list. Highlight anything you don’t recognise or actively use.
- Click the minus (–) button to remove it.
Common offenders include cloud sync tools running duplicates, printer assistants you no longer need, and apps that add themselves to startup without asking.
Step 3: Run Software Update
macOS updates aren’t just about new features. A large proportion of each update contains security patches for vulnerabilities that are actively being exploited in the wild. Running on an outdated system — even by a few versions — leaves known security gaps open.
How to check for updates:
- Click the Apple menu → System Settings.
- Click General → Software Update.
- Install any updates shown — including app updates via the App Store.
Step 4: Run Disk Utility First Aid
Disk Utility’s First Aid tool scans your startup disk for file system errors and repairs them automatically. Most issues it finds are minor — permission errors, metadata inconsistencies — but catching them monthly prevents them from growing into something that affects performance or data integrity.
How to run First Aid:
- Open Disk Utility — find it in Applications → Utilities, or use Spotlight (Command + Space, then type “Disk Utility”).
- In the left sidebar, select Macintosh HD (your startup disk).
- Click First Aid at the top of the window.
- Click Run. The process takes 1–3 minutes.
- If it reports “no errors found” or says it repaired errors successfully — you’re done. If it reports an error it cannot repair, boot into Recovery Mode and run First Aid from there.
Step 5: Check Your Time Machine Backup
A backup you can’t verify is a backup you can’t trust. Monthly maintenance is the right time to confirm your Time Machine is actually running and up to date — not just connected.
How to verify your backup:
- Click the Time Machine icon in the menu bar (or go to System Settings → General → Time Machine).
- Check the date and time of the last successful backup.
- If the last backup is more than 24 hours ago and your backup drive was connected, click Back Up Now to trigger one manually.
- Verify the backup drive has enough remaining space for at least 2–3 months of backups.
Step 6: Review Browser Extensions and Tabs
Browsers — especially Safari and Chrome — can silently consume significant memory and CPU over time, largely due to extensions that run in the background on every page. A monthly browser audit keeps things lean.
Safari:
- Open Safari → Settings (Command + comma).
- Click Extensions.
- Uncheck or uninstall anything you don’t actively use.
Google Chrome:
- Open Chrome → click the three dots → Extensions → Manage Extensions.
- Remove anything you haven’t used in the past month.
Also clear your browser cache monthly. In Safari: Settings → Privacy → Manage Website Data → Remove All. In Chrome: three dots → Settings → Privacy and Security → Clear Browsing Data.
Step 7: Check Activity Monitor for Background Surprises
Activity Monitor shows you exactly what’s running on your Mac and how much CPU, memory, energy, and disk activity each process is using. A quick monthly scan often reveals something unexpected — a hung app, a process consuming far more than it should, or software you forgot was installed.
How to use Activity Monitor:
- Open Activity Monitor — Applications → Utilities, or Spotlight search.
- Click the CPU tab and sort by % CPU (highest first).
- Look for anything using more than 30–40% CPU persistently when you’re not doing anything intensive.
- Click the Memory tab and check the Memory Pressure graph at the bottom. Green means healthy. Yellow is a caution. Red means your Mac is regularly running out of RAM and may need attention.
- If you see a process you don’t recognise consuming significant resources, search its name online before ending it.
Step 8: Clean the Physical Mac
Software maintenance gets all the attention, but dust is one of the most underrated causes of Mac performance problems. Blocked vents cause the CPU to throttle itself to avoid overheating — which shows up as unexplained slowdowns, especially under load.
- Use a soft, lint-free cloth to wipe the screen (slightly damp, never wet)
- Use compressed air to blow dust out of the keyboard gaps and ventilation slots
- For MacBook Pro and MacBook Air, aim a quick burst of compressed air into the ventilation slots on the base or hinge area
- Clean the charging port area with a dry toothpick if you see lint or debris
- Wipe down the trackpad and keyboard surface
What You Should Never Do to Your Mac
This is as important as the checklist above. A lot of well-meaning advice about Mac maintenance can actually cause more harm than the problems it claims to solve.
- Never use third-party “cleaner” apps like CleanMyMac, MacKeeper, or CCleaner — they delete files that macOS deliberately keeps, interrupt legitimate background processes, and in some cases install adware. macOS manages its own caches and temporary files safely. You don’t need to accelerate this.
- Never delete files from the Library folder manually — unless you know exactly what a file does, removing it can break app functionality or system behaviour in ways that are hard to trace.
- Never “purge RAM” using Terminal commands — macOS manages memory dynamically and efficiently. Forcing a RAM purge disrupts this system and creates more problems than it solves.
- Never run a macOS update without a backup — most updates complete without issue, but it only takes one failed update to lose data you can’t get back.
- Never force-quit apps repeatedly as a maintenance strategy — if an app hangs regularly, the right fix is to update or reinstall it, not to make a habit of force-quitting.
Your Monthly Mac Maintenance Checklist at a Glance
- Check storage — keep at least 15–20GB free
- Empty the Trash and clear Downloads
- Review Login Items and remove anything unnecessary
- Run Software Update (Apple menu → System Settings → Software Update)
- Run Disk Utility First Aid on Macintosh HD
- Verify Time Machine last backup date
- Audit browser extensions — remove unused ones
- Quick scan of Activity Monitor — CPU and Memory tabs
- Physical clean — keyboard, vents, screen, ports
Frequently Asked Questions
Do I really need to do Mac maintenance every month?
Monthly is the right interval for most users. Heavy users — people who install lots of software, work with large files, or run their Mac all day every day — may benefit from a lighter fortnightly check of just storage and backups. Casual users who mostly browse and write can stretch to every 6–8 weeks. The checklist above takes under 20 minutes, so the cost of doing it slightly too often is low.
Should I use CleanMyMac or similar apps?
The honest answer is no. macOS manages its own temporary files, caches, and memory with sophisticated built-in systems. Third-party cleaners often delete files that macOS intentionally keeps for performance reasons, and their “problems found” reports are frequently inflated to justify their existence. Everything in the checklist above achieves real maintenance results without these apps.
How often should I restart my Mac?
At least once a week is a reasonable baseline if you typically just close the lid rather than shutting down. A restart clears temporary files, resets system processes, and installs pending updates. Many unexplained slowdowns and minor glitches resolve themselves after a simple restart.
How do I know if my Mac’s hardware is starting to fail?
Run Apple Diagnostics by restarting your Mac and holding the D key during startup. It will run hardware tests on memory, storage, logic board, and other components. If it returns error codes, note them down — they’ll help Apple Support or a repair technician diagnose the issue. Also keep an eye on your battery cycle count in About This Mac → More Info → System Report → Power.
Is it bad to leave my Mac plugged in all the time?
Not with modern MacBooks. Optimized Battery Charging is designed to handle this scenario — it learns your usage patterns and limits the time the battery spends at 100% to reduce long-term wear. Occasionally running the battery down to around 20–30% before charging is a healthy habit, but leaving it plugged in most of the time will not damage a Mac with Optimized Battery Charging enabled.
What’s the single most important thing on this checklist?
Time Machine backup, without question. Everything else on this list addresses performance and housekeeping. A backup is the only thing that protects your data if hardware fails, if a file gets corrupted, or if something goes wrong during an OS update. All the other steps can be undone. Data loss often can’t be.
Final Thoughts
Mac maintenance has a reputation for being complicated or requiring special software — it doesn’t. The checklist above uses tools Apple already built into macOS, and none of it requires technical expertise. Run through it once a month and your Mac will consistently perform closer to how it did when it was new.
The most common mistake people make is either ignoring maintenance entirely until something breaks, or overcorrecting by using aggressive third-party cleaning tools that interfere with how macOS works. The middle path — a short, regular check using built-in tools — is where the genuine value is.
If your Mac feels slow despite keeping up with this routine, the issue is likely something specific rather than general neglect. A deeper look at Activity Monitor, or a visit to Apple Support, will usually identify it quickly.
If there’s a specific step in this guide that’s not working the way you expect, drop your Mac model and macOS version in the comments — it may help others in the same situation.