
Quick Answer: If your MacBook stuck on the Apple logo with a loading bar, start with a force restart by holding the power button for 10 seconds. If that doesn’t clear it, boot into Safe Mode, reset NVRAM/PRAM, run Disk Utility First Aid in Recovery Mode, or reinstall macOS. Most cases are fixable without losing any data.
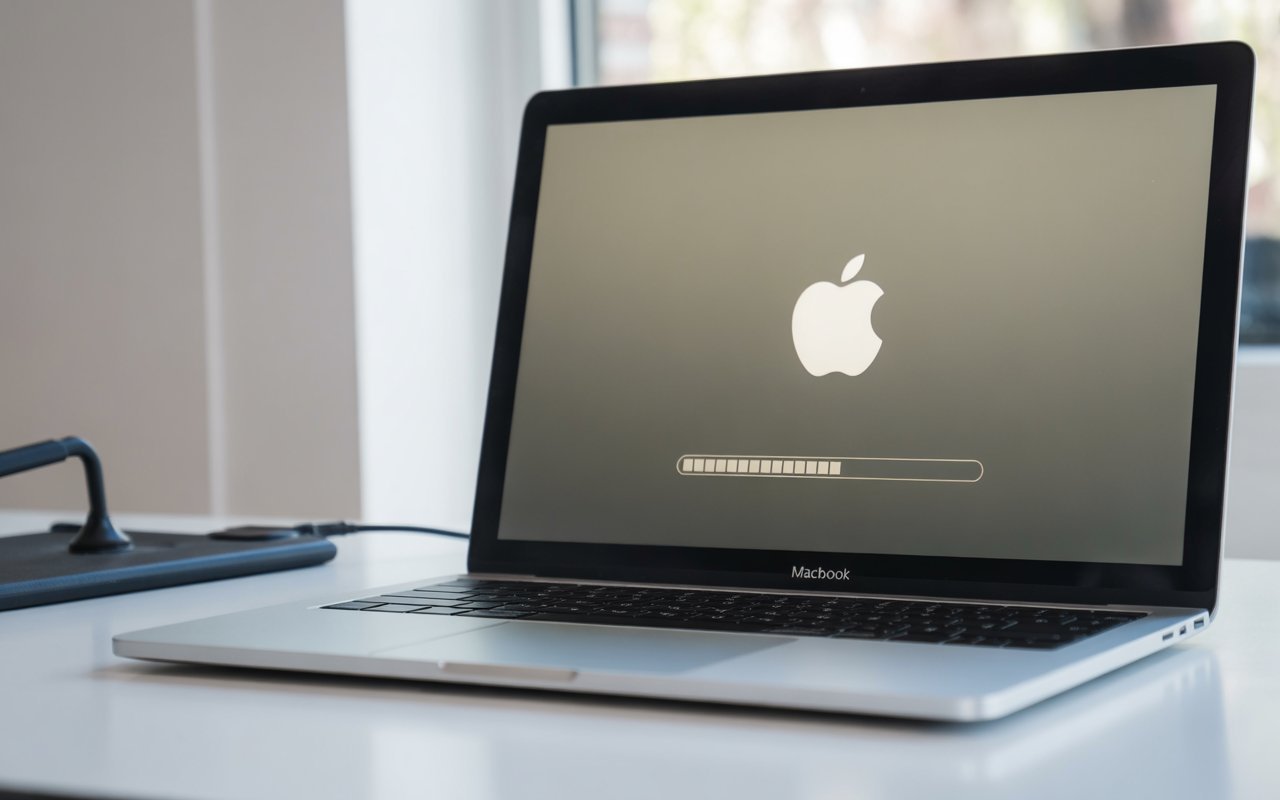
You turn on your MacBook expecting it to boot up normally, but instead it freezes on the Apple logo with that loading bar going nowhere. Or maybe the bar crawls forward at a glacial pace and never finishes. Or worse — it keeps restarting in an endless loop, never making it past the loading screen.
That’s a frustrating place to be. Your work files, photos, and projects feel trapped inside a machine that won’t cooperate.
Here’s the reassuring part: in most cases, this problem is completely fixable without losing any data, and you don’t need technical experience to resolve it. This guide walks you through every method that actually works — starting with the quickest and simplest, then moving to more advanced options only if needed.
Related: How to Fix MacBook Pro USB Ports Not Working?
Why Does a MacBook Get Stuck on the Loading Screen?
Before jumping into fixes, it helps to understand what’s actually happening. When your Mac freezes on the loading screen, it means macOS is trying to start up but something is blocking it from finishing.
These are the most common causes:
- After a macOS update — The single most frequent trigger. Updates can fail to install correctly, leaving your Mac in a half-updated state. macOS Sonoma, Sequoia, and Ventura have all caused boot loops for users at various points.
- Corrupted system files — Critical macOS files can get damaged by a sudden power cut, a forced shutdown, or disk errors, preventing the boot sequence from completing.
- Full startup disk — With zero free storage, macOS can’t create the temporary files it needs during boot.
- Faulty peripherals — A malfunctioning USB drive, external hard drive, or even a wireless mouse can sometimes block a successful startup.
- Third-party software or kernel extensions — Apps that modify system-level settings — such as antivirus tools, VPNs, or customization utilities — can interfere with the boot process. A kernel extension (also called a kext) is a piece of code that runs deep inside macOS to add hardware or software support.
- Hardware problems — Less common, but failing RAM, a deteriorating hard drive, or logic board issues can cause boot loops.
- NVRAM or SMC corruption — These store critical startup settings. NVRAM (Non-Volatile RAM) remembers things like which disk to boot from and your screen resolution. If those settings are corrupted, your Mac may not know where to begin booting.
Now that you know what might be causing it, let’s work through the fixes.
Fix 1: Wait It Out (Seriously)
This sounds overly simple, but it’s worth knowing before you do anything else.
After a major macOS update — Sonoma, Sequoia, and others — the loading screen can legitimately take anywhere from 30 minutes to 2 hours to finish, especially on older MacBooks or models with a lot of files. Apple even recommends starting large updates in the evening so they can run overnight if necessary.
Signs it’s still working and you should keep waiting:
- The loading bar is moving, even if it’s extremely slow
- Your Mac completed an update right before this happened
- The bar hasn’t been frozen in the exact same spot for more than 30 minutes
Signs it’s genuinely stuck and you should stop waiting:
- The loading bar hasn’t moved at all for over an hour
- Your Mac keeps restarting on its own
- The screen goes black repeatedly and returns to the Apple logo in a loop
If waiting doesn’t help, move on to Fix 2.
Fix 2: Force Restart Your MacBook
A simple force restart breaks the loop more often than you’d expect and requires no technical knowledge at all.
For all MacBook models:
- Press and hold the Power button for about 10 seconds until your MacBook shuts down completely. The screen will go black and stay that way.
- Wait 10–15 seconds before doing anything else.
- Press the Power button once to turn your MacBook back on.
Note: On MacBooks with Touch ID, the Touch ID button is the power button — press and hold that.
If your Mac boots normally after this, great — you’re done. If it freezes on the loading screen again, continue to Fix 3.
Fix 3: Disconnect All External Devices
Faulty or incompatible peripherals can quietly prevent your Mac from completing its startup. This includes everything from USB hubs to wireless mice to external drives — things you might not think of as a cause.
- Force shut down your MacBook by holding the power button for 10 seconds.
- Unplug or disconnect everything connected to your MacBook: external monitors, USB drives and hard drives, SD cards, printers, external keyboards and mice, Bluetooth devices if possible, docking stations or hubs, and charging cables (unplug briefly, then reconnect).
- Press the power button to turn your MacBook back on.
If it boots successfully with everything disconnected, one of those peripherals was the culprit. Reconnect them one at a time to identify which one is causing the issue.
Fix 4: Boot Into Safe Mode
Safe Mode is a built-in diagnostic state that loads only the essential parts of macOS and runs some automatic repairs. It’s one of the most reliable ways to resolve boot issues caused by software problems.
For MacBooks with Apple Silicon (M1, M2, M3, M4):
- Shut down your MacBook completely.
- Press and hold the Power button until the screen shows “Loading startup options.”
- Select your startup disk (usually named Macintosh HD).
- Press and hold the Shift key, then click “Continue in Safe Mode.”
- Your Mac will boot into Safe Mode. You’ll see “Safe Boot” in red text in the upper-right corner of the login screen.
- Log in and let your Mac sit for a few minutes. Safe Mode runs automatic disk checks in the background.
- Restart your Mac normally — this time without holding Shift — and check whether it boots.
For Intel MacBooks:
- Power off your MacBook completely.
- Press the Power button, then immediately press and hold the Shift key.
- Keep holding Shift until you see the login screen with “Safe Boot” displayed in the corner.
- Log in, wait a few minutes, then restart normally.
What Safe Mode actually does:
- Verifies and repairs your startup disk
- Removes system cache files that may be corrupted
- Loads only essential kernel extensions
- Prevents startup items and login items from loading
If your Mac boots in Safe Mode but not in normal mode, a third-party app or login item is causing the problem. Check what you’ve installed recently and uninstall it. You can also go to System Settings → General → Login Items to review what’s set to run at startup.
Fix 5: Reset NVRAM/PRAM
NVRAM (or PRAM on older Macs) stores settings such as startup disk selection, screen resolution, and recent crash information. Corrupted NVRAM data can cause the Mac to get confused about where or how to boot.
For Apple Silicon Macs (M1, M2, M3, M4):
No action needed. Apple Silicon Macs automatically reset NVRAM when they detect boot problems — it happens in the background without any input from you.
For Intel MacBooks:
- Shut down your MacBook.
- Turn it on and immediately press and hold these four keys together: Command + Option + P + R.
- Keep holding all four keys for about 20 seconds. Your Mac may restart during this time — that’s completely normal. Hold until you hear the startup chime twice (if your model has one) or the Apple logo appears and disappears twice.
- Release the keys and let your Mac finish booting.
After resetting NVRAM, you may need to reconfigure some settings like display resolution or startup disk preferences.
Fix 6: Reset SMC (Intel MacBooks Only)
The SMC, or System Management Controller, handles hardware-level functions including power, battery management, cooling fans, and sensors. Resetting it can resolve boot-related hardware issues on Intel-based Macs.
Apple Silicon Macs (M1, M2, M3, M4) do not have an SMC component. Skip this step if your MacBook has an M-series chip.
For MacBooks with T2 Chip (2018–2020 MacBook Air and MacBook Pro):
- Shut down your MacBook.
- On the left side of the keyboard, press and hold Shift + Control + Option.
- While holding those three keys, press and hold the Power button as well.
- Hold all four keys together for 10 seconds, then release everything at once.
- Wait a few seconds, then press the Power button to turn your Mac back on.
For Older Intel MacBooks (Non-Removable Battery):
- Power off your MacBook completely.
- Unplug the power adapter if it’s connected.
- Press and hold the Power button for 10 seconds, then release.
- Plug the power adapter back in.
- Press the Power button to start your Mac.
Fix 7: Run Disk Utility First Aid in Recovery Mode
If your startup disk has errors or file system corruption, Disk Utility’s First Aid tool can detect and repair them. This is one of the most effective fixes for persistent boot problems.
For Apple Silicon Macs (M1, M2, M3, M4):
- Shut down your MacBook.
- Press and hold the Power button until “Loading startup options” appears on screen.
- Click Options, then click Continue.
- Select your user account and enter your password when prompted.
- In the macOS Utilities window, select Disk Utility and click Continue.
- In the sidebar, select your startup disk — usually labeled Macintosh HD.
- Click First Aid at the top of the window, then click Run.
- Wait for First Aid to complete. If errors are found and repaired, restart your Mac and see whether it boots normally.
For Intel MacBooks:
- Power off your MacBook.
- Turn it on and immediately press and hold Command + R until the Apple logo or a spinning globe appears.
- Select Disk Utility from the Utilities menu, then click Continue.
- Select your startup disk in the sidebar.
- Click First Aid, then click Run.
- Once First Aid finishes, restart your Mac.
If First Aid reports that it cannot repair the disk, your hard drive may be failing. Back up your data as soon as possible — you can do this from Recovery Mode using Target Disk Mode or a third-party data recovery tool.
Fix 8: Reinstall macOS (Keeps Your Files)
Reinstalling macOS replaces the operating system files without touching your personal data. It’s a powerful fix when corrupted system files are behind the boot problem, and it doesn’t delete anything you’ve stored on your Mac.
This process requires an active internet connection.
For Apple Silicon Macs (M1, M2, M3, M4):
- Shut down your MacBook.
- Press and hold the Power button until “Loading startup options” appears.
- Click Options, then click Continue.
- Enter your password when prompted.
- In the macOS Utilities window, select Reinstall macOS [version name] and click Continue.
- Follow the on-screen instructions. When asked, select your startup disk — usually Macintosh HD.
- The installation will take 30 minutes to 2 hours depending on your internet speed. Your Mac will restart automatically once it’s done.
For Intel MacBooks:
- Power off your MacBook.
- Turn it on and immediately press and hold Command + R.
- Release the keys when you see the Apple logo or spinning globe.
- In macOS Utilities, select Reinstall macOS and click Continue.
- Follow the on-screen prompts to complete the installation.
Reinstalling macOS does NOT delete your files, as long as you do not erase your disk beforehand. It only replaces the system software.
Fix 9: Erase and Reinstall macOS (Last Resort)
If reinstalling macOS over your existing system didn’t resolve the problem, a clean install is the next step. This process erases everything on your startup disk, so only proceed if you have a backup — or if you’ve already recovered any important data.
- Boot into Recovery Mode using the instructions in Fix 8.
- Select Disk Utility and click Continue.
- In the sidebar, select your startup disk.
- Click Erase at the top of the Disk Utility window.
- Set the Format to APFS.
- Set the Scheme to GUID Partition Map.
- Click Erase and wait for the process to finish.
- Quit Disk Utility using Command + Q.
- Select Reinstall macOS and follow the installation steps.
Once macOS is installed, you can restore your files from a Time Machine backup or another backup source.
Fix 10: Revive or Restore Firmware (Apple Silicon Macs)
If your M1, M2, M3, or M4 MacBook is completely unresponsive and won’t even enter Recovery Mode, you can revive or restore its firmware using a second Mac and Apple Configurator. This has recovered Macs that appeared completely beyond repair.
What you’ll need:
- A second Mac running macOS 12.0.1 or later
- A USB-C to USB-C cable (a Thunderbolt cable also works)
- On the working Mac, download Apple Configurator 2 from the Mac App Store.
- Shut down the MacBook that won’t boot.
- Connect both Macs using the USB-C cable.
- Put the unresponsive MacBook into DFU (Device Firmware Update) mode: Press and hold the Power button for 10 seconds, then release. The screen will remain black — this is expected and means DFU mode is active.
- Immediately press and hold Right Shift + Left Option + Left Control for 10 seconds.
- Without releasing those keys, also press and hold the Power button for another 10 seconds, then release all keys at once.
- On the working Mac, open Apple Configurator 2. Your unresponsive MacBook should appear listed as a device in “DFU Mode.”
- Click Revive to restore firmware while keeping your data, or Restore to erase everything and start fresh.
- Follow the on-screen instructions. The process typically takes 15–30 minutes.
The black screen during DFU mode is intentional — it confirms the Mac has entered the correct state. Do not be alarmed if nothing appears on the display.
When to Take Your MacBook to Apple
If you’ve worked through every fix above and your MacBook still won’t boot past the loading screen, there’s a good chance the problem is hardware-related. Look out for these warning signs:
- Your Mac produces clicking, beeping, or grinding sounds when starting up
- Recovery Mode will not load at all
- Disk Utility cannot detect your startup disk
- First Aid reports that your disk is failing
- Your MacBook shuts itself off randomly during the boot process
- The screen flickers or shows unusual graphical glitches
These symptoms typically point to a failing hard drive, bad RAM, logic board damage, or a display issue — all of which require hands-on professional diagnosis.
Contact Apple Support: https://support.apple.com
You can also book a Genius Bar appointment at any Apple Store to have a technician run hardware diagnostics in person.
How to Stop This From Happening Again
Once your MacBook is working, a few straightforward habits will significantly reduce the chance of future boot problems.
- Keep at least 15–20GB of free storage at all times — a full disk causes numerous issues, including failed boots. Check via Apple Menu → About This Mac → Storage.
- Avoid force shutdowns unless your Mac is completely frozen. Cutting power abruptly can corrupt system files. Use the Apple menu to shut down properly whenever possible.
- Before installing a major macOS update, back up with Time Machine. If a new update is causing widespread reports of issues, waiting a week or two before updating is a reasonable precaution.
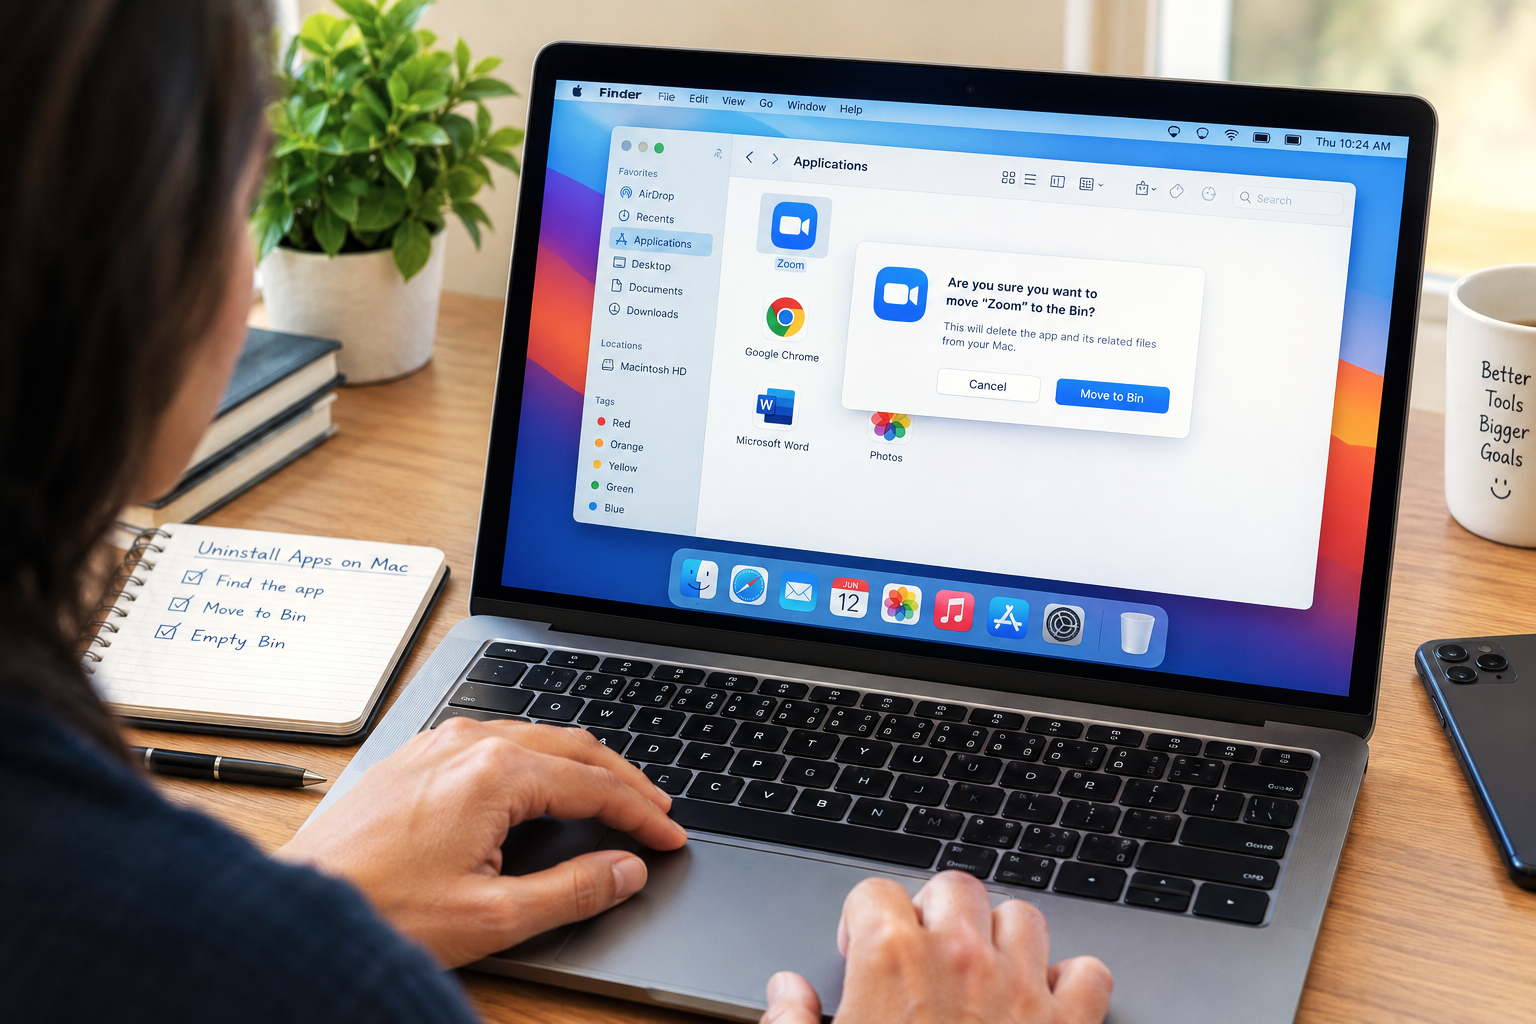
- Uninstall apps cleanly — don’t just drag them to the Trash. Tools like AppCleaner remove all associated files, which is especially important for system-level software like antivirus apps.
- Run Disk Utility First Aid every few months to catch early disk errors before they become serious.
- Be selective about third-party apps that install kernel extensions. Only install them from developers you trust, as they run at a deep system level and can cause boot failures if they malfunction.
Frequently Asked Questions
How long should I wait before assuming my Mac is stuck?
For a normal startup: around 5 minutes is the limit. After a macOS update: allow up to 2 hours. If the loading bar hasn’t moved at all for more than 30 minutes, the Mac is most likely genuinely stuck.
Will I lose my files if I reinstall macOS?
No — reinstalling macOS without erasing your disk first keeps all your personal files intact. Only the operating system files get replaced. That said, backing up before any major operation is always a sensible precaution.
Can I recover data from a MacBook that’s stuck on the loading screen?
Yes. Boot into Recovery Mode, open Disk Utility, and your startup disk should be visible in the sidebar. From there, you can copy files to an external drive, or use data recovery software available in Recovery Mode.
Why does my MacBook boot in Safe Mode but not in normal mode?
This points to a third-party app or login item as the cause. In Safe Mode, go to System Settings → General → Login Items and remove anything unfamiliar. Also check whether you installed any new software recently and uninstall it.
My MacBook keeps restarting in a loop. What should I do?
Start with Safe Mode (Fix 4). If that doesn’t resolve it, reset NVRAM/PRAM (Fix 5) and then run First Aid in Recovery Mode (Fix 7). Boot loops are most often caused by corrupted system files, failed updates, or a problematic peripheral.
Final Thoughts
Seeing your MacBook freeze on the loading screen is genuinely stressful, but the good news is that the vast majority of cases are fixable — and fixable without losing your data.
Start at the top of this guide and work downward. Most boot problems stem from software: corrupted files, an update that didn’t land cleanly, or a misbehaving app. Hardware failures are the less common scenario, and by the time you’ve worked through these steps, you’ll know whether that’s what you’re dealing with.
If your MacBook still won’t cooperate after trying everything here, contact Apple Support or visit a Genius Bar. At that point, you’ve ruled out all the common software causes and a technician can give the hardware a proper look.
This article is provided for informational purposes only. CrazyErrors is not affiliated with Apple Inc. or Microsoft Corporation. For official support, visit support.apple.com.
If you’re stuck on a specific step, drop your MacBook model and what you’re seeing in the comments — it may help others working through the same issue.