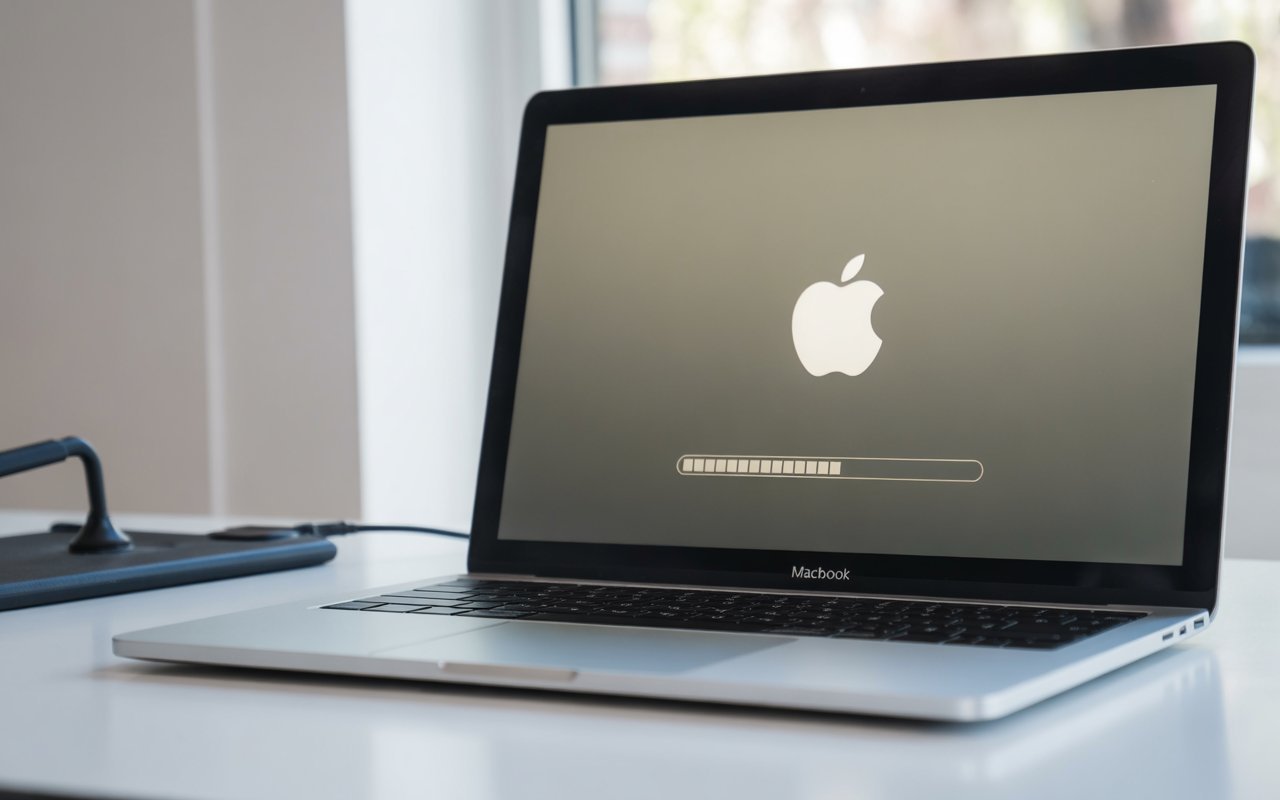

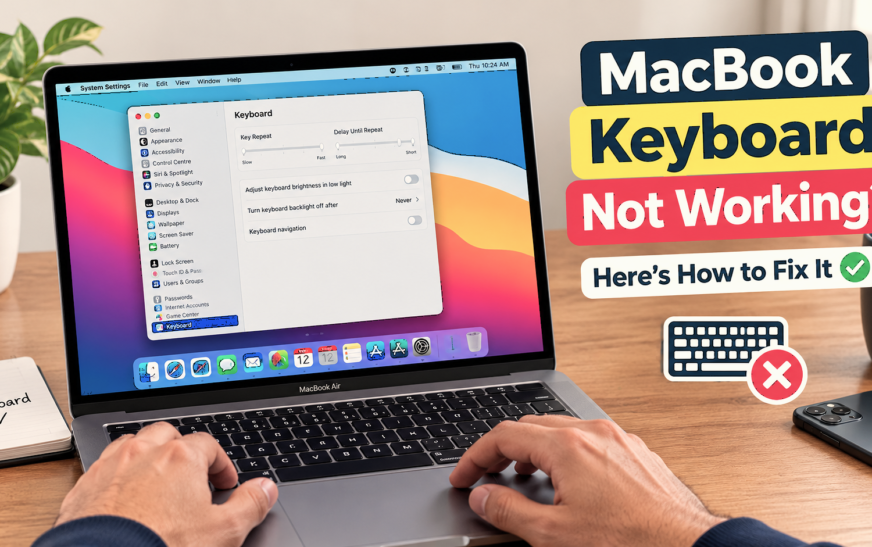
To unlock a MacBook when the keyboard is not working, the fastest method is to use Touch ID — press the fingerprint sensor at the top-right of the keyboard (or in the Touch Bar) to bypass the password screen entirely. If your MacBook doesn’t have Touch ID or it isn’t responding, plug any standard USB-A keyboard into a USB-C adapter and connect it to the MacBook — it works immediately without any driver installation. If the keyboard froze mid-session rather than at login, force-restarting the MacBook by holding the Power button for 10 seconds almost always restores normal keyboard function on reboot.
There are few situations more frustrating on a Mac than staring at the login screen with a cursor that moves freely — but a keyboard that produces nothing when you type. Or sitting mid-session when every key suddenly goes silent. The MacBook keyboard not working problem takes different forms: keys that produce no input, a keyboard frozen after waking from sleep, a keyboard that stopped responding after a software update, or physical keys that have become stuck. Each has a specific fix, and most of them don’t require a repair appointment or losing access to your Mac for a day.
This guide covers every method for unlocking and regaining access to a MacBook when the keyboard isn’t cooperating — from the 10-second solutions like Touch ID and external keyboards, through software fixes like SMC resets and Safe Mode, to the deeper recovery options for keyboards that have genuinely failed at the hardware level.
Which Situation Are You In?
Match Your Exact Problem — Each Has a Different Priority Fix🔒 Stuck on login screen — can’t type password, keyboard does nothing
The MacBook booted up and is showing the password entry screen, but no keys register any input. The cursor moves (trackpad works) but the keyboard is completely silent. Fix 1 (Touch ID), Fix 2 (external keyboard), and Fix 3 (Apple Watch Auto Unlock) resolve this in under a minute without needing another device.
💤 Keyboard stopped working after waking from sleep
The MacBook woke from sleep and the keyboard isn’t responding — the trackpad works, the display is on, but key presses do nothing. This is the most common keyboard failure pattern and is almost always a software state issue. Fix 5 (force restart) combined with Fix 8 (SMC reset) resolves sleep-related keyboard failures reliably.
💻 Keyboard stopped working mid-session while logged in
You were using the Mac normally and the keyboard suddenly stopped responding. The Mac is still running — you can move the cursor and see the screen — but no keys work. Fix 5 (force restart) takes 10 seconds and resolves the majority of mid-session keyboard freezes.
⌨️ Some keys work, others don’t — partial keyboard failure
Specific keys are unresponsive while others work normally. Could be physical debris under the keys, a firmware glitch affecting specific key groups, or a software modifier key stuck in an active state. Fix 10 (keyboard cleaning) and Fix 9 (NVRAM reset) address partial failures. Check if the Caps Lock or Fn key is stuck — a stuck modifier key can make other keys appear broken.
📱 Keyboard stopped working after a macOS update
An update to macOS Tahoe (or a previous version) completed and now the keyboard doesn’t respond. The update may have introduced a driver conflict or corrupted a keyboard preference file. Fix 9 (NVRAM reset), Fix 11 (Safe Mode), and Fix 12 (keyboard preference file deletion) directly target post-update keyboard failures.
🧹 Keys feel physically stuck, sticky, or produce wrong characters
The keys physically feel different — sticky, stiff, or requiring unusual force — or pressing one key produces a different character. This is a physical hardware issue, most commonly caused by debris, liquid residue, or a failed key switch. Fix 13 (physical cleaning) and the hardware assessment section at the end of this guide cover physical keyboard damage.
All Methods to Unlock Your MacBook Without a Working Keyboard
Quick Reference — Find the Right Method for Your Setup| Method | Works at Login Screen | Needs Extra Hardware | Works on All Macs |
|---|---|---|---|
| Touch ID | ✔ Yes | ✔ No | MacBook Pro 2016+, MacBook Air 2018+ |
| Apple Watch Auto Unlock | ✔ Yes | Paired Apple Watch needed | macOS Catalina+ |
| External USB Keyboard | ✔ Yes | USB keyboard + adapter | ✔ All Macs |
| Bluetooth Keyboard | Only if already paired | Bluetooth keyboard needed | ✔ All Macs |
| Universal Control (from another Mac) | After login only | Second Mac or iPad | macOS Monterey 12.3+ |
| Screen Sharing (remote) | Limited — needs pre-setup | Another Mac or device | ✔ All Macs |
| Accessibility On-Screen Keyboard | Only if pre-enabled | Mouse or trackpad | ✔ All Macs |
| Voice Control | Only if pre-enabled | Microphone (built-in) | macOS Catalina+ |
Fix 1: Use Touch ID to Log In
Start Here — Fastest Way to Unlock MacBook Without TypingTouch ID — the fingerprint sensor built into modern MacBooks — works completely independently of the keyboard. It has its own dedicated hardware controller and its own power path. Even when every key on the keyboard is completely unresponsive, Touch ID usually continues to work. If your Mac has Touch ID and you’ve set it up, this is the fastest possible way back in.
macOS requires your password to be entered at least once after every fresh restart or shutdown. Touch ID only works for subsequent unlocks during that same login session — including waking from sleep. If you just restarted or powered on the MacBook and the keyboard isn’t working, Touch ID won’t accept your fingerprint on the very first login after a restart. In that case, you need an external keyboard or another alternative from this guide for the initial login after a cold boot.
Fix 2: Connect an External USB Keyboard
Universal Fix — Works on Every MacBook at the Login ScreenAny standard USB keyboard works with a MacBook immediately — no drivers, no pairing, no configuration. Plug it in and it works. If you have access to any USB-A keyboard (the most common type), all you need is a USB-A to USB-C adapter to connect it to a modern MacBook’s USB-C port. This is the most reliable hardware bypass for a completely dead built-in keyboard and works even at the very first login screen after a cold boot.
A USB-C hub with USB-A ports, HDMI, and an SD card slot is one of the most useful accessories for any MacBook user — and having one already connected makes emergency keyboard bypass instantaneous. Many MacBook users discover they need a USB-A adapter only during a crisis. A USB-C hub that costs under $30 and lives on the desk handles this scenario and dozens of others. It’s a worthwhile addition regardless of keyboard health.
Fix 3: Unlock With Apple Watch Auto Unlock
Zero Keyboard Required — Works Automatically if Pre-ConfiguredApple Watch Auto Unlock is one of the most underused Mac features — it lets your Mac detect that you’re wearing your paired Apple Watch and automatically unlocks itself without requiring any input at all. If you’ve set this feature up before the keyboard issue occurred, waking your Mac from sleep will unlock it automatically the moment you’re near it wearing your watch. No keyboard, no Touch ID, no password entry.
- Apple Watch Series 1 or later
- Mac running macOS Catalina or later
- Both devices signed in to the same Apple ID
- Two-Factor Authentication enabled on the Apple ID
- Bluetooth and WiFi enabled on the Mac
Like Touch ID, Apple Watch Auto Unlock only works for sleep/wake unlocks — not for the first login after a restart or shutdown. If you’ve just restarted the Mac, macOS requires a typed password for the initial login for security reasons. Auto Unlock takes over for all subsequent sleep wakes after that first login. For the post-restart situation, Fix 2 (external keyboard) is still needed.
Fix 4: Use a Bluetooth Keyboard
Works at Login — Only if Already Paired Before the FailureA Bluetooth keyboard that was already paired with your MacBook before the keyboard stopped working can be used to log in without any cables or adapters. macOS remembers Bluetooth keyboard pairings across restarts, so a previously paired Magic Keyboard or any third-party Bluetooth keyboard will connect automatically when turned on near the Mac — including at the login screen.
Apple’s Magic Keyboard pairs with a Mac once and reconnects reliably without any manual steps. For MacBook users who travel or work at a desk, keeping a Magic Keyboard paired with the MacBook serves as both a comfortable full-size typing experience and an instant backup for exactly this situation. The Magic Keyboard with Touch ID (available in silver or space grey) even works for password-free login after sleep — making it the most useful keyboard backup you can have.
Fix 5: Force Restart the MacBook
For Keyboards Frozen Mid-Session — Works in 10 SecondsWhen the keyboard stops responding during normal use — not at the login screen but while you’re already working — the issue is almost always a software-level freeze rather than physical keyboard failure. The keyboard driver, the Dock process, or a runaway application can get into a state where keyboard input is captured and not passed through to the system. A force restart ends all processes including the stuck one and almost always restores normal keyboard function on reboot.
A force restart by holding the Power button shuts down without saving anything. Any unsaved documents, open browser tabs, and in-progress work are lost. If you have unsaved work open and the trackpad still works, try using the on-screen keyboard first (Fix 7) to save your work before force restarting — it may take a few minutes but is worth the effort if the work is important.
Fix 6: Reset the SMC
For Persistent Keyboard Failures That Survive RestartsThe SMC — System Management Controller — is a chip inside every Intel MacBook that controls low-level hardware functions including keyboard power, backlight, battery management, and thermal regulation. On Apple Silicon Macs (M1/M2/M3/M4), equivalent functions are handled differently within the main chip. When the SMC develops a corrupted state, it can cause the keyboard to stop responding in a way that survives normal restarts — because the SMC itself doesn’t fully reset during a regular shutdown. Resetting it specifically targets this class of keyboard failure.
Apple Silicon Macs (M1, M2, M3, M4) — SMC Equivalent Reset
Intel MacBooks With T2 Chip (2018–2020 models)
Intel MacBooks Without T2 Chip (pre-2018 models)
Resetting the SMC is a completely safe operation — it doesn’t delete any data, doesn’t change any of your settings, and doesn’t affect installed applications. It resets only hardware controller state: fan behaviour, keyboard response, battery charging management, and indicator lights. If the keyboard issue was SMC-related, it typically resolves immediately on the next startup after the reset.
Fix 7: Use the On-Screen Keyboard (Accessibility)
Type With Your Mouse or Trackpad — No Physical Keys RequiredmacOS includes a full software keyboard called Accessibility Keyboard — a floating keyboard window that you click with your mouse or trackpad to type. If the trackpad still works but the keyboard doesn’t, this lets you type anything — including your login password — without pressing a single physical key. The limitation is that it needs to be enabled in Accessibility settings before you need it; however, it can also be activated from the login screen’s accessibility options if you know where to look.
Enabling Accessibility Keyboard When Already Logged In
Accessing the On-Screen Keyboard at the Login Screen
The Accessibility icon appears at the login screen only if the “Show accessibility options at login window” setting is enabled. Turn this on while your keyboard works so it’s available the next time it doesn’t: System Settings → Accessibility → Keyboard → Enable Accessibility Keyboard and also System Settings → Lock Screen → Show accessibility options in the lock screen. This five-second setting change means the on-screen keyboard is always available at the login screen regardless of keyboard status.
Fix 8: Use Screen Sharing to Log In From Another Device
Control Your MacBook Remotely Using Another Mac or iPhoneIf Screen Sharing was enabled on the MacBook before the keyboard failed, you can control the Mac completely from another Mac on the same WiFi network — including typing with the other Mac’s keyboard. Screen Sharing (macOS’s built-in remote access feature) lets you see the MacBook’s screen and send keyboard and mouse input remotely, which is particularly useful when the MacBook is logged in but the keyboard has stopped responding mid-session.
If you have another Mac or an iPad running a recent OS, Universal Control (macOS Monterey 12.3+ and iPadOS 15.4+) lets you seamlessly move your cursor to the MacBook’s screen and use the other device’s keyboard to type — all without any setup or Screen Sharing configuration. Move your mouse to the edge of your second Mac’s screen toward the MacBook — Universal Control activates automatically if both devices are on the same Apple ID and both have Bluetooth and WiFi on. This is now the fastest remote-keyboard method available.
Fix 9: Reset NVRAM / PRAM
For Post-Update Keyboard Failures and Partial Key IssuesNVRAM (Non-Volatile Random-Access Memory) — previously called PRAM — is a small area of memory that stores certain Mac settings that need to persist between reboots: screen resolution, speaker volume, startup disk selection, and keyboard preferences including modifier key mappings. When a macOS update writes incorrect values to NVRAM, it can produce keyboard behaviour that looks like a hardware failure — certain keys not working, modifier keys behaving unexpectedly, or keyboard input being incorrectly mapped. Resetting NVRAM clears these stored values and forces macOS to rebuild them from defaults.
Intel Macs — NVRAM Reset
Apple Silicon Macs (M1, M2, M3, M4) — NVRAM Equivalent
# Resets NVRAM on Apple Silicon Macs
sudo nvram -cFix 10: Delete Keyboard Preference Files
For Keyboard Issues That Appeared After a macOS UpdatemacOS stores keyboard preferences — modifier key assignments, key repeat settings, input source configuration — in preference files in your Library folder. After a major macOS update, these files can develop conflicts between old settings and the new OS’s expected format. Deleting them forces macOS to create fresh, default preference files the next time it starts up, which often resolves keyboard behaviour that changed unexpectedly after an update.
~/Library/Preferencescom.apple.keyboard.plist
com.apple.keyboardtype.plist
com.apple.HIToolbox.plist~/Library/Preferences to restore your previous settings and try a different fixFix 11: Boot Into Safe Mode
Isolates Software Conflicts Causing the Keyboard to FailSafe Mode starts macOS with a minimal set of processes — no third-party extensions, no login items, no non-essential kernel extensions, and a cache rebuild on startup. If a third-party application or system extension installed on your Mac is interfering with keyboard input, Safe Mode bypasses it. If the keyboard works in Safe Mode but not in normal mode, a recently installed application or extension is the cause.
Safe Mode on Apple Silicon Macs (M1, M2, M3, M4)
Safe Mode on Intel Macs
Fix 12: Check for Physical Keyboard Issues
Clean and Inspect Before Concluding Hardware Has FailedMacBook keyboards — particularly the butterfly mechanism keyboards in MacBook Pro models from 2016–2019 — are notoriously susceptible to debris. A single grain of sand, a bread crumb, or a tiny dust particle under the wrong key can make that key completely unresponsive while the rest of the keyboard works normally. Before assuming the keyboard needs professional repair, a thorough clean resolves many physical key failures.
Water, isopropyl alcohol, or any liquid sprayed directly onto a MacBook keyboard can seep through the key gaps into the keyboard membrane, the logic board, and the battery — causing far more damage than a stuck key. Never spray anything liquid onto the keyboard surface. Compressed air is the only safe keyboard cleaning method for MacBooks. If liquid has already entered the keyboard (spill scenario), shut down immediately, turn upside down, and take it to an Apple-authorised service provider as soon as possible.
Pro Tips: Preventing MacBook Keyboard Lockouts
Set up Touch ID with multiple fingers right now. Most MacBook users register only their index finger with Touch ID. Registering your thumb and middle finger as well means a cut, callus, or moisture on one finger doesn’t lock you out. Go to System Settings → Touch ID & Password → Add a Fingerprint and add two or three fingers. The extra 60 seconds this takes once is insurance against a future lockout during the worst possible moment.
Enable Apple Watch Auto Unlock if you own an Apple Watch. This feature takes two minutes to configure and permanently eliminates the most common keyboard-not-working lockout scenario — being stuck at the sleep wake-up screen. After setup, simply wearing your watch near a sleeping Mac unlocks it silently. The setting lives in System Settings → Lock Screen → “Use your Apple Watch to unlock your Mac.”
Enable Screen Sharing and Remote Login now, before you need them. Both features can be turned on with a toggle in System Settings → General → Sharing. With Screen Sharing active, any other Mac on the same network can control your MacBook remotely — including typing with its keyboard. With Remote Login active, you can SSH into the Mac from another device. Neither feature creates a security risk when used on a home network with a strong Mac password. These two toggles transform a potential keyboard crisis into a minor inconvenience.
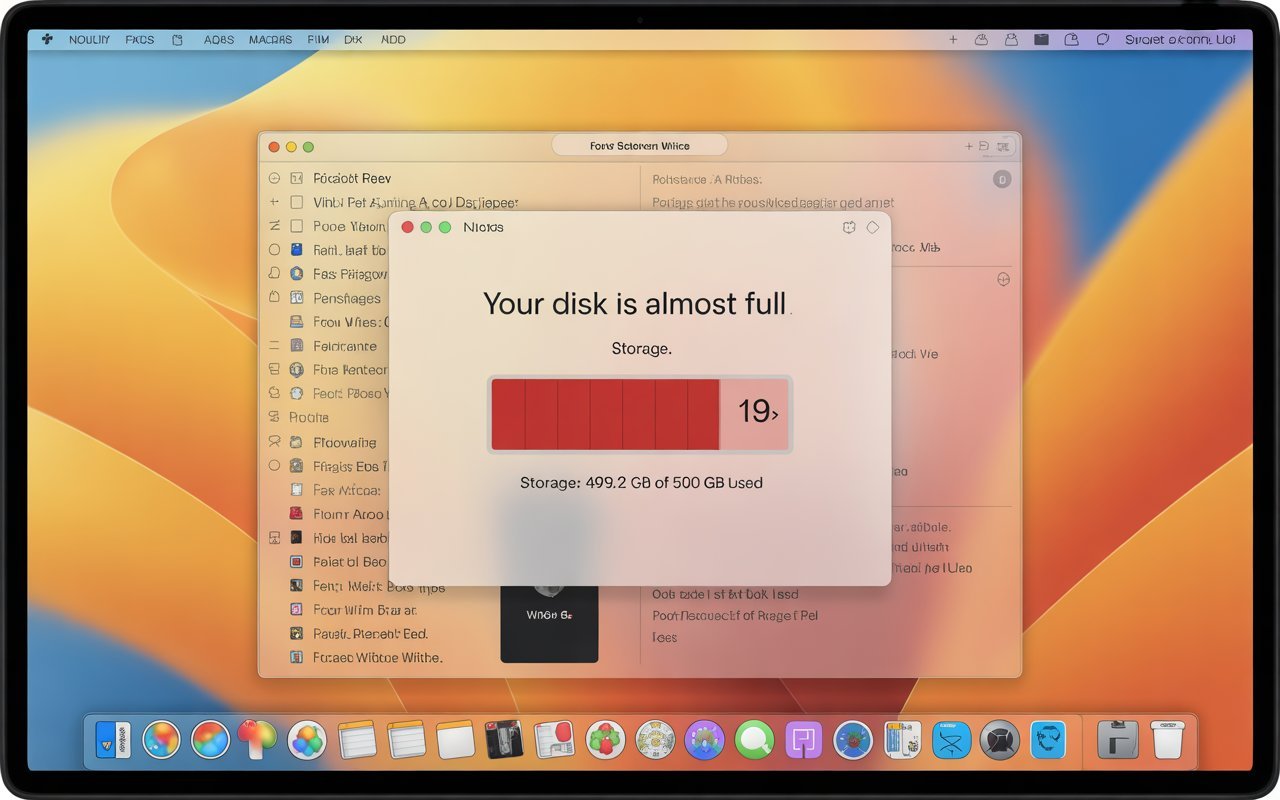
A USB-C hub with USB-A ports belongs on your desk permanently. The USB-A to USB-C adapter gap is the only thing standing between a keyboard emergency and a working Mac. A hub that’s already connected — with a USB-A port always available — means an external keyboard can be plugged in and working in under five seconds. Beyond keyboard emergencies, the hub’s other ports make it useful every day. Keep your Mac’s storage in good shape so the system has resources for keyboard drivers and background processes — our guide on freeing up MacBook storage without deleting files covers the fastest ways to do that. For more little-known Mac features that can help in a pinch, see our hidden Mac features guide.
Common Mistakes to Avoid
A normal restart (Apple menu → Restart) doesn’t reset the SMC, doesn’t clear NVRAM, and doesn’t rebuild keyboard preference files. It only closes applications and restarts the OS. If a normal restart doesn’t restore keyboard function, that doesn’t tell you the hardware has failed — it tells you the issue is deeper than a simple session freeze. Work through the SMC reset, NVRAM reset, and Safe Mode before concluding hardware is the problem.
MacBook keycaps — particularly on butterfly mechanism keyboards (2016–2019 MacBook Pro) — are extremely fragile. Attempting to remove them for cleaning almost always results in the keycap breaking or the key switch mechanism underneath it being permanently damaged. Use compressed air from the side of the key gap instead. If the key needs deeper cleaning than compressed air can achieve, take it to an Apple Authorised Service Provider.
This surprises many users: macOS requires your password to be entered once after every cold boot or restart before Touch ID becomes available. If you restarted trying to fix the keyboard and now Touch ID isn’t unlocking the Mac, this is why — the Mac needs one typed password after the restart before biometric authentication re-activates. Use an external keyboard or the on-screen keyboard for this first post-restart login.
Reinstalling macOS is a last resort that takes an hour and requires downloading several gigabytes. SMC reset, NVRAM reset, and keyboard preference file deletion are all faster, safer, and more targeted fixes that resolve the majority of post-update keyboard failures in under five minutes. Attempting a macOS reinstall as a first response to a keyboard issue almost always turns a five-minute problem into a ninety-minute problem.
FAQ: Unlock MacBook if Keyboard is Not Working
How do I unlock my MacBook if the keyboard is not working?
To unlock a MacBook when the keyboard is not working, the fastest methods are: use Touch ID (press your registered fingerprint against the Touch ID sensor — works even when all keys are unresponsive), use Apple Watch Auto Unlock (if set up, the Mac unlocks automatically when you’re wearing your paired Watch), or connect any external USB keyboard via a USB-A to USB-C adapter and type your password that way. If you’re locked out at the login screen and none of these are available, the Accessibility On-Screen Keyboard is accessible via the Accessibility icon (person-in-circle) at the bottom-left of the login screen — click it and select Accessibility Keyboard to type with your trackpad.
Why did my MacBook keyboard suddenly stop working?
The most common reasons a MacBook keyboard suddenly stops working are: a software-level freeze where the keyboard driver or a runaway process captured keyboard input and stopped passing it through (fix by force restarting — hold Power for 10 seconds); an SMC corruption issue where the hardware controller for the keyboard lost its configuration (fix by resetting the SMC); a corrupted keyboard preference file after a macOS update (fix by deleting com.apple.keyboard.plist and com.apple.HIToolbox.plist); physical debris under keys (fix with compressed air); or — less commonly — hardware failure of the keyboard cable connection between the keyboard and logic board (requires professional service).
Can I type my MacBook password without a keyboard?
Yes — there are several ways to enter your Mac password without using the physical keyboard. Touch ID lets you bypass the password entirely using your fingerprint. Apple Watch Auto Unlock bypasses it completely via Bluetooth proximity. The Accessibility On-Screen Keyboard (accessible via the Accessibility icon at the bottom-left of the login screen) lets you click each character with your trackpad. An external USB keyboard connected via a USB-C adapter lets you type normally. Any of these methods work at the login screen on modern Macs running macOS Catalina or later.
Will resetting the SMC fix my MacBook keyboard?
SMC reset resolves MacBook keyboard failures caused by a corrupted System Management Controller state — which accounts for a meaningful percentage of cases where the keyboard stops working without any apparent cause. It’s particularly effective for keyboards that fail after sleep, fail after waking from a deep sleep state, or stop responding after a period of heavy thermal load. SMC reset doesn’t fix physical keyboard damage, keyboard failures caused by corrupted preference files (try deleting the keyboard plist files instead), or keyboard issues introduced by third-party software (try Safe Mode to identify those). It’s safe to try regardless — it takes 30 seconds, has no side effects, and works for a specific class of keyboard failure that nothing else fixes.
MacBook keyboard not working after macOS update — what do I do?
A MacBook keyboard that stopped working specifically after a macOS update is most likely caused by corrupted keyboard preference files, an NVRAM value conflict, or a third-party keyboard utility that’s incompatible with the new OS version. Work through these in order: first, reset NVRAM (hold Option + Command + P + R on startup for Intel Macs; run sudo nvram -c in Terminal for Apple Silicon); second, delete the keyboard preference files in ~/Library/Preferences (com.apple.keyboard.plist, com.apple.HIToolbox.plist) and restart; third, boot into Safe Mode and check whether the keyboard works — if it does in Safe Mode, a third-party extension is the cause and should be removed or updated.
MacBook keyboard not working but trackpad is fine — why?
The MacBook’s trackpad and keyboard use different hardware pathways and different controller circuits. A software freeze that captures keyboard input often doesn’t affect the trackpad because the trackpad’s input handling runs through a different process chain. A corrupted SMC state can affect only the keyboard controller without touching the trackpad controller. A software modifier key getting stuck (like a “stuck” Command or Option key state) makes key combinations and individual keys appear broken while the trackpad remains unaffected. The separation of trackpad and keyboard function is actually helpful — a working trackpad means you can still navigate to diagnostic tools and settings even with a dead keyboard.
How to Unlock MacBook if Keyboard is Not Working — 12 Proven Fixes
- 1Use Touch ID — press registered finger on sensor; works without any key press; not available on first boot after restart
- 2Connect USB external keyboard — any USB keyboard + USB-A to USB-C adapter; works immediately at login screen on every Mac
- 3Apple Watch Auto Unlock — wear paired Apple Watch near Mac; unlocks automatically on sleep wake; requires pre-setup
- 4Use a paired Bluetooth keyboard — previously paired keyboards reconnect automatically at login; Magic Keyboard Touch ID also works
- 5Force restart the Mac — hold Power button 10 seconds; resolves mid-session keyboard freezes immediately
- 6Reset the SMC — Intel: Left Shift + Control + Option + Power for 10 seconds; Apple Silicon: unplug power for 30 seconds
- 7Use on-screen Accessibility Keyboard — click Accessibility icon at login screen; type with trackpad; enable in System Settings for future use
- 8Use Screen Sharing from another Mac — control the Mac remotely; requires Screen Sharing pre-enabled in Sharing settings
- 9Reset NVRAM / PRAM — Intel: Option + Command + P + R at startup for 20 seconds; Apple Silicon:
sudo nvram -cin Terminal - 10Delete keyboard preference files — move com.apple.keyboard.plist and com.apple.HIToolbox.plist from ~/Library/Preferences to Desktop; restart
- 11Boot Safe Mode — Apple Silicon: hold Power → Continue in Safe Mode; Intel: hold Shift on startup; identifies third-party conflicts
- 12Clean keyboard with compressed air — tilt at 75 degrees; short bursts left to right; check Apple’s Keyboard Service Program for butterfly keyboards
One Last Thing
A MacBook keyboard that stops working is one of those problems that looks worse than it is. Touch ID and an external USB keyboard between them cover every scenario — and at least one of those two options is available to virtually every MacBook user. The software fixes (SMC reset, NVRAM reset, preference file deletion) resolve the majority of cases that aren’t straightforwardly fixed by hardware bypass. Actual physical keyboard failure requiring professional service is the least common cause of keyboard unresponsiveness, not the most common.
The real lesson from this situation: enable Touch ID with multiple fingers, pair an Apple Watch for Auto Unlock, and keep a USB-C hub on the desk. All three take under five minutes to set up and collectively ensure a broken keyboard is never more than a 10-second inconvenience rather than a locked-out crisis.
Wrapping Up
Unlocking a MacBook when the keyboard is not working has more solutions than most people realise — and the fastest ones (Touch ID, external keyboard, Apple Watch) are available without any special preparation. For keyboards that stopped working due to software issues, the SMC reset and NVRAM reset together resolve a significant majority of cases in under two minutes. Work from the top of the checklist, use the situation cards to identify your specific scenario, and you’ll be back in your Mac well before the situation becomes a real problem.
ⓘ Disclaimer: This article is for informational purposes only. CrazyErrors is not affiliated with Apple Inc. Steps and navigation paths reflect macOS Tahoe running on Apple Silicon and Intel MacBooks as of 2026 and may vary by macOS version and Mac model. SMC reset procedures differ between Mac models — confirm your model type before applying the relevant reset sequence. Apple’s Keyboard Service Program availability and coverage should be verified directly at support.apple.com. For official Apple keyboard support, visit support.apple.com/mac.