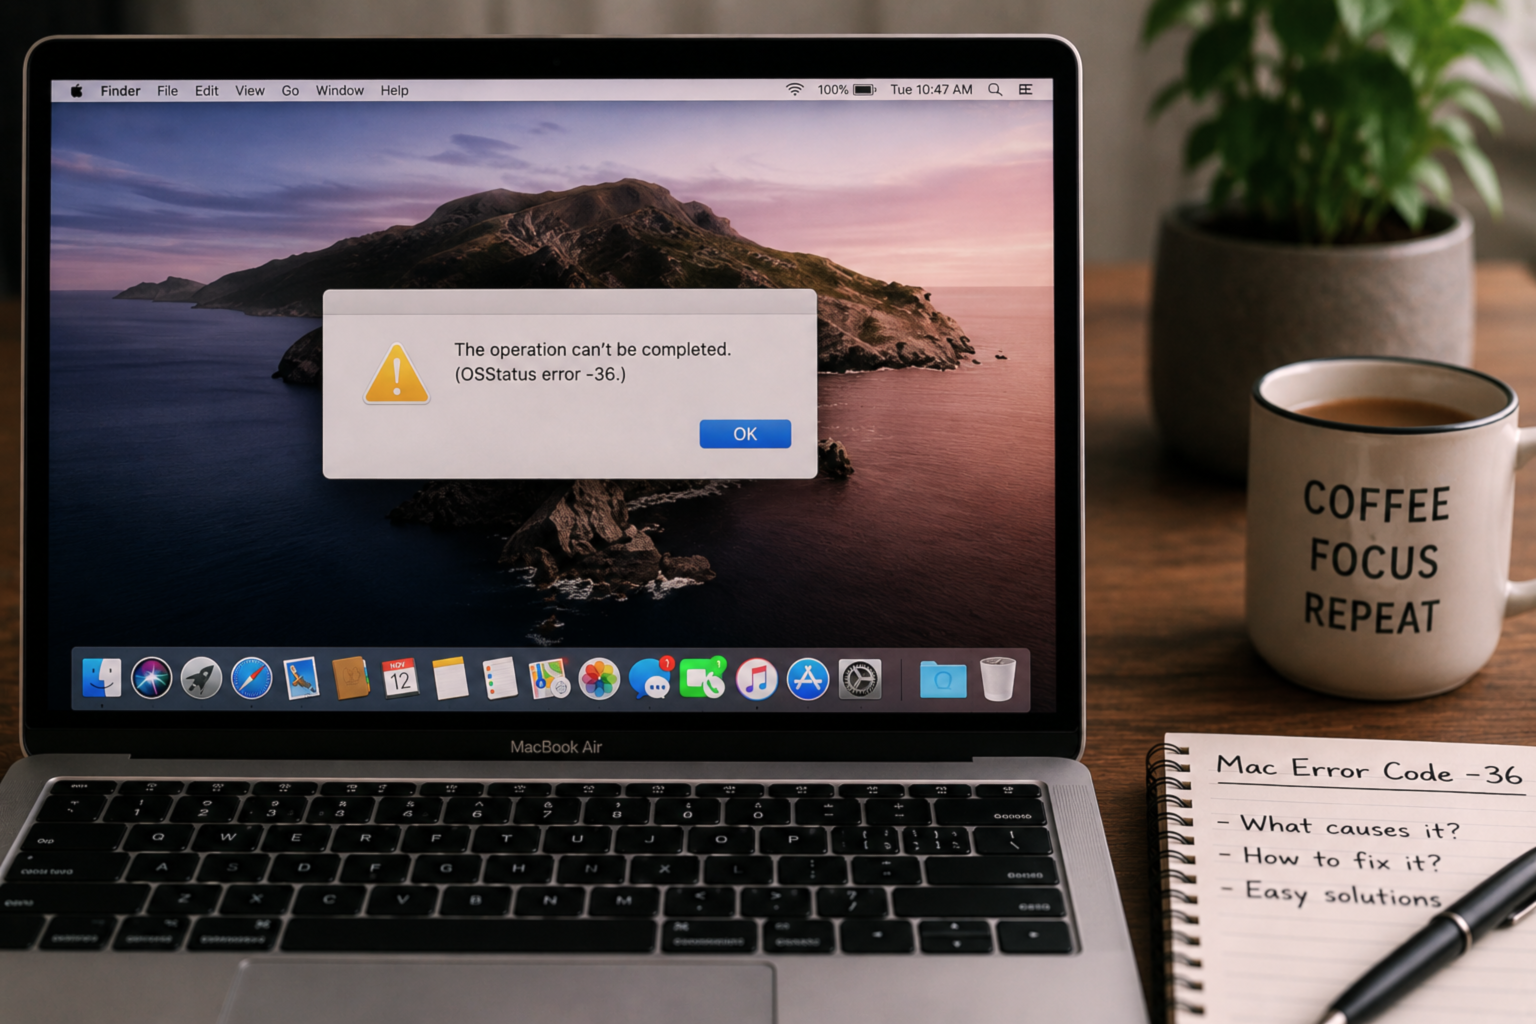

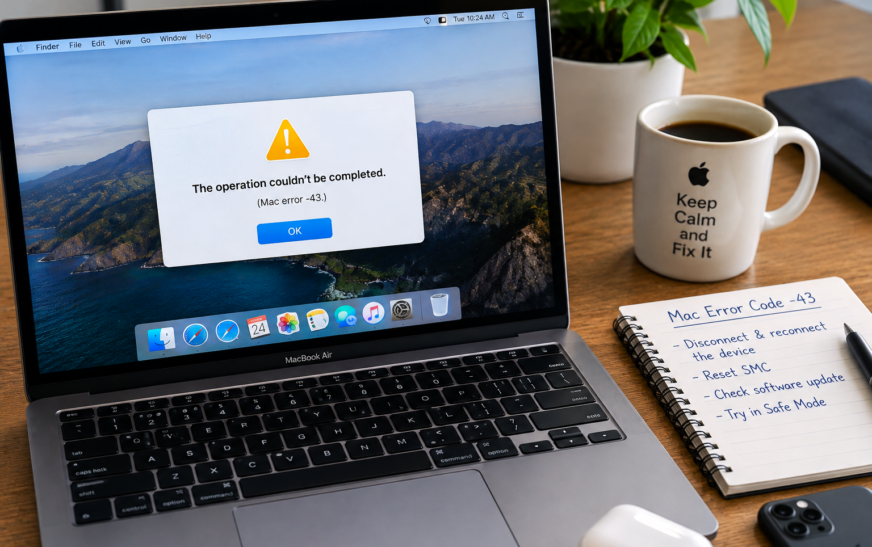
Mac Error Code -43 (“The operation can’t be completed because the item can’t be found”) appears most frequently when trying to empty the Trash or delete a file the Finder can no longer locate at its recorded path. The fastest fix is to hold the Option key while clicking Empty Trash — this bypasses the path verification step that triggers the error. If that doesn’t clear it, open Terminal and run sudo rm -rf ~/.Trash/* followed by your Mac password — this deletes everything in the Trash directly without the Finder’s path check. For files that won’t delete outside the Trash, the file is almost always locked or held open by another application — check via Get Info → Locked or close the application using the file first.
Few Mac errors are as confusing as Mac Error Code -43. The Finder is showing you a file — you can see it right there on screen — but when you try to move, copy, or delete it, the system tells you the item can’t be found. The file appears to exist and doesn’t appear to exist simultaneously, which makes no sense from a user’s perspective.
What’s actually happening is a path resolution failure. The Finder or the OS has a record of the file at a specific storage location, but when it tries to perform an operation on it — move, delete, copy — the physical path no longer resolves correctly. The file might have been moved by another application, the drive it lived on may have unmounted, its name may contain invisible characters the OS can’t parse, or another process may have already deleted it while the Finder’s display hasn’t updated. The error -43 code, internally mapped to fnfErr (File Not Found Error), is the system’s way of reporting this path breakdown.
The good news: the fixes are reliable and most cases resolve in under two minutes.
What Actually Causes Mac Error Code -43
The Technical Explanation Behind the ErrorIn macOS’s internal error table, -43 maps to fnfErr — File Not Found Error. It fires when the operating system resolves a file path and finds nothing at the expected location. This is distinct from a permissions error (which would be Error -54) or an I/O failure (Error -36). The system knows where the file should be — it simply isn’t there when it looks.
| Cause | When It Typically Appears | Go To Fix |
|---|---|---|
| Trash contains files whose source path no longer exists | Empty Trash produces Error -43 | Fix 2 or Fix 3 |
| File is held open (in use) by another application | Delete or move operation on a specific file | Fix 4 |
| File is locked at the Finder level | Delete or move fails on a specific file | Fix 5 |
| File path contains invisible or special characters | Finder shows the file but can’t resolve it for operations | Fix 11 |
| Source drive was disconnected mid-operation | Copy or move started on an external drive that was ejected | Fix 9 |
| Stale Spotlight index pointing to a moved or deleted file | Clicking a Spotlight result gives Error -43 | Fix 8 |
| Corrupted directory entry on the drive | Error appears on multiple files, not just one | Fix 10 |
| File permissions prevent the deletion path from resolving | Error on system-adjacent files or files from another user | Fix 7 |
Error -36 (ioErr) is an input/output failure — the system found the file’s path but couldn’t read or write the data at that location. Error -43 (fnfErr) is a path resolution failure — the system can’t find the file at the path it expects at all. If you’re seeing Error -43, the fix involves path resolution, file locks, and Trash management — not disk I/O or AppleDouble metadata files, which are the territory of Error -36. Choosing the right fix depends on correctly identifying which error you have.
Which Situation Matches Yours?
Identify Your Exact Scenario Before Choosing a Fix🗑️ Trash won’t empty — “The item can’t be found”
The most common Error -43 scenario. The Trash contains one or more files whose original location path no longer resolves — often from a deleted external drive, a renamed folder, or a network location that’s no longer connected. Fix 2 (Option + Empty Trash) and Fix 3 (Terminal rm) resolve this in seconds.
📄 A specific file won’t delete, move, or copy
Error -43 on a single file that you can see in Finder. Most likely the file is locked (Fix 5) or held open by another application (Fix 4). Try right-clicking the file and choosing Get Info — if the Locked checkbox is checked, that’s your answer.
🔍 Spotlight result opens with Error -43
The Spotlight index still has a record of a file that has since been moved, renamed, or deleted. The Spotlight result looks valid but the path it points to no longer exists. Fix 8 (re-index Spotlight) resolves this by forcing Spotlight to rebuild its database from scratch.
💾 Error appeared mid-copy when an external drive was disconnected
A copy or move operation that started on an external drive was interrupted when that drive was ejected or lost power. The Finder lost the source path partway through. Fix 9 (reconnect the drive) and then restarting the copy resolves this — the original files on the drive are intact.
🚨 Error on multiple files or whole folders at once
When Error -43 affects many files rather than one specific item, the drive’s directory structure itself may have an inconsistency. Fix 10 (Disk Utility First Aid) checks and repairs the drive at the filesystem level without touching file content.
⚠️ Finder shows a file but it seems to be a ghost — no size, no preview
The Finder’s display cache hasn’t updated after a file was moved or deleted by another process. A Finder relaunch (Fix 12) refreshes the display and removes ghost entries. If the file returns after relaunching, a deeper directory issue may be involved — run First Aid (Fix 10).
Fix 1: Restart Your Mac
Start Here — Clears File Locks and Path Cache in One StepMany Error -43 occurrences are caused by a file that’s currently held open by a running application — the OS reports the path as unresolvable for deletion because it’s in active use. A Mac restart closes every application, releases every file lock, and clears the Finder’s path cache entirely. It’s the single most effective first step because it resolves multiple potential causes simultaneously.
If the file operation succeeds immediately after a restart but fails again later, an application that launches at login is opening the file and holding it. Check System Settings → General → Login Items for apps that launch automatically, and identify which one is using the file. Removing it from Login Items or quitting it before performing the file operation prevents the error from recurring.
Fix 2: Force Empty Trash With the Option Key
Fastest Fix for the “Trash Won’t Empty” Version of Error -43When Error -43 appears specifically when emptying the Trash, the issue is almost always that the Trash contains a file whose original source path no longer exists — from an external drive that’s been reformatted, a network share that’s disconnected, or a drive that’s been removed. Holding the Option key while emptying the Trash tells macOS to skip the path verification step and delete the files directly, bypassing the check that produces the error.
Sometimes a single stubborn file blocks the entire Trash from emptying. To identify it: open the Trash folder in Finder, select all files (Command + A), then deselect one file at a time and try emptying — the batch that succeeds without Error -43 tells you which file is the problem. Alternatively, select all Trash contents except the suspected problem file, right-click and choose Delete Immediately to bypass the problematic item, then deal with it separately using Fix 3 or Fix 6.
Fix 3: Empty Trash via Terminal
The Most Reliable Fix for Trash-Related Error -43When Option + Empty Trash doesn’t clear Error -43, the Terminal approach almost always does. The rm command (remove) deletes files directly at the filesystem level, bypassing every layer of the Finder’s path verification, lock checking, and metadata handling. If the Trash contains files — regardless of whether their original paths are valid — rm removes them.
sudo rm -rf ~/.Trash/*If you have multiple user accounts on the Mac and files from other accounts are in their own Trash folders, or if the problem is in a specific account’s Trash location, you can also target the Trash directly:
# Empty the Trash for the current user
rm -rf ~/.Trash/*

# If that doesn't work, use sudo for elevated permissions
sudo rm -rf ~/.Trash/*

# For files from an external drive still in Trash (.Trashes folder)
sudo rm -rf /Volumes/DriveName/.Trashes/*The sudo rm -rf command permanently deletes files without sending them to the Trash and without any possibility of recovery through standard means. Copy the command exactly as written above — sudo rm -rf ~/.Trash/*. The ~/.Trash/* part targets only your Trash folder contents. Never modify this path. Typing sudo rm -rf / or any variation that omits the ~/.Trash/* target would be catastrophic. Double-check the command before pressing Return.
Fix 4: Close the Application Using the File
For Files That Won’t Delete or Move Outside the TrashWhen Error -43 appears on a specific file that you’re trying to delete, move, or replace — not a Trash issue — the file is almost certainly open in another application. macOS places an automatic lock on any file that an application has open, preventing deletion until the application releases it. The Finder reports this as Error -43 (path unresolvable for the operation) rather than a more descriptive lock error.
.pdf file might be open in Preview; a .docx in Pages or Word; a .jpg in Photos or Preview# Replace "filename.txt" with the actual filename
lsof | grep "filename.txt"lsof without quitting the whole app (use the PID from the lsof output):
# Replace 1234 with the actual PID from lsof output
kill -9 1234Open Activity Monitor (Applications → Utilities → Activity Monitor) and use the search box to search for the filename or the suspected application. Activity Monitor shows all running processes including background daemons that might hold files open without appearing in the Dock. If you see an unexpected process holding the file, select it and click the Force Quit button (the X in the toolbar) to release the lock without Terminal.
Fix 5: Unlock the File
When Get Info Shows the Locked Checkbox Is TickedmacOS lets you lock any file through the Finder — a protection that prevents accidental modification or deletion. When a locked file is sent to the Trash and you try to empty it, or when you try to delete a locked file directly, the Finder produces Error -43 because the deletion path is blocked by the lock attribute. Unlocking the file removes this block in seconds.
# Unlock a single file
chflags nouchg /path/to/file

# Unlock all files in a folder and its subfolders
chflags -R nouchg /path/to/folder/

# Unlock all files currently in the Trash
chflags -R nouchg ~/.Trash/Some files in macOS are locked by the system as a protective measure — particularly files in /System, /usr, and certain Library subfolders. Unlocking and deleting these files can destabilise macOS. If the locked file causing Error -43 is outside your home folder or the Trash, verify it’s a file you created or downloaded before unlocking it. Files in ~/Documents, ~/Desktop, ~/Downloads, and your Trash are safe to unlock.
Fix 6: Delete the File Using Terminal rm
When the Finder Refuses to Delete a Specific FileWhen a file won’t delete through the Finder — whether from the desktop, a folder, or the Trash — the Terminal rm command bypasses the Finder’s path verification and deletes the file directly at the filesystem level. This works on files that the Finder reports as unfindable even when you can see them on screen.
rm (rm followed by a single space) — do not press Return yetrm /Users/yourname/Desktop/problematic-file.pdf# Unlock and immediately delete the file
chflags nouchg /path/to/file && rm /path/to/filerm -rf /path/to/folder/Files deleted with rm in Terminal do not go to the Trash — they are deleted permanently. There is no undo and no recovery through macOS’s standard tools. Always verify the path in the command before pressing Return. If the file is important and you’re unsure, copy it to another location first using cp /path/to/file ~/Desktop/backup-copy before running rm.
Fix 7: Fix File Permissions
For Permission-Related Error -43 on Files You Should OwnFile permissions in macOS control which user accounts can read, write, or execute each file. When a file’s permissions have been changed — by a third-party application, an incomplete installation, or a macOS update — the Finder may be unable to perform operations on files that should belong to your account, producing Error -43 as the path operation fails at the permission check layer.
# Take ownership of a file (replace "username" with your Mac username)
sudo chown username /path/to/file

# Take ownership of all files in a folder recursively
sudo chown -R username /path/to/folder/

# Set read/write permissions for the owner
chmod 644 /path/to/fileFix 8: Re-index Spotlight
When Clicking a Spotlight Result Gives Error -43Spotlight maintains an index of every file on your Mac — a database that maps file names and contents to their storage locations. When a file is moved, renamed, or deleted after the index was last updated, Spotlight’s record points to a location that no longer exists. Clicking the Spotlight result triggers Error -43 because the path it hands to the Finder doesn’t resolve. Re-indexing forces Spotlight to rebuild its database from scratch against the actual current file system state.
# Force Spotlight to re-index the main drive
sudo mdutil -E /-E flag erases the existing Spotlight index and begins a fresh rebuild
Spotlight’s re-index process (mds and mds_stores in Activity Monitor) is designed to run at low priority and doesn’t meaningfully impact daily tasks. You don’t need to wait for it to complete before using your Mac. Spotlight search results may be incomplete during the re-index period — usually showing fewer results than normal until the database is rebuilt. This is expected and resolves on its own.
Fix 9: Reconnect the Source Drive
When Error -43 Appeared After an External Drive Was DisconnectedError -43 appears mid-transfer when an external drive, SD card, or network share is disconnected while a copy or move operation is in progress. The Finder had a valid path at the start of the operation; the drive disconnecting mid-way made that path vanish, and the Finder couldn’t complete the operation or clean up gracefully. The files on the source drive are typically unaffected — only the transfer was interrupted.
rsync in Terminal rather than Finder:
# rsync resumes from where it left off if interrupted
rsync -av --progress /Volumes/ExternalDrive/folder/ ~/Documents/destination/When an external drive is disconnected without being properly ejected — especially during an active write — the drive’s filesystem can develop directory inconsistencies. Run Disk Utility → First Aid on the reconnected drive before starting a new transfer. A drive with unrepaired directory errors can produce Error -43 on subsequent operations even after reconnection.
Fix 10: Run First Aid in Disk Utility
For Error -43 Affecting Multiple Files Without a Clear PatternWhen Error -43 appears across many different files or whole folders — rather than targeting one specific item — the drive’s directory structure itself is likely inconsistent. The directory is the map that links file names to their physical storage locations; if this map has corrupted entries, the OS reports path resolution failures (fnfErr) for files that physically exist on disk. First Aid repairs these directory-level problems without touching file content.
- “No errors found” / “Operation successful” — directory is clean; the cause of Error -43 is at the file level, not the drive level
- “Errors were repaired” — directory inconsistencies fixed; retry the failing file operations
- “Errors found but could not be repaired” — the drive has damage beyond what First Aid can fix; back up all accessible data immediately
Fix 11: Check for Invisible Characters in the Filename
For Files Visible in Finder But Completely UnresolvableFilenames in macOS can contain invisible characters — Unicode control characters, zero-width spaces, or other non-printable characters — that appear in the Finder display as nothing but break path resolution completely. These characters most commonly arrive in filenames downloaded from the internet, received from Windows users, or created by certain applications. The Finder displays the file normally, but every path operation on it fails with Error -43 because the OS can’t construct a valid path from the filename.
cd (cd followed by a space) then drag the folder from Finder into Terminal and press Return:
cd /path/to/folder/ls -la? markers or unusual spacing that doesn’t match what the Finder shows
ls -la | cat -v^@, ^M, or similar escape sequences in the output
# Use a partial match — replace "partofname" with the visible part
rm *partofname*rm , then type the first few visible characters of the filename and press Tab. Terminal auto-completes the full filename including invisible characters, which you can then confirm and delete with ReturnWhen you type part of a filename and press Tab in Terminal, the shell auto-completes the full filename character-for-character — including any invisible Unicode characters that broke the Finder path. This makes tab-completion the simplest way to construct a valid reference to a problematic file for deletion, without needing to identify or type the invisible characters manually.
Fix 12: Relaunch the Finder
Quick Reset for Ghost Files and Stale Finder DisplayThe Finder maintains a display cache of the files and folders it has indexed for display. When a file is moved or deleted by another process — by Terminal, by a background application, or by a cloud sync service — the Finder’s display doesn’t update immediately. The file appears to be present but doesn’t exist at the displayed path when an operation is attempted. Relaunching the Finder clears this cache and rebuilds the display from the actual filesystem state, making ghost file entries disappear.
killall FinderIf the problem file vanished after relaunching the Finder, it was a ghost entry — the file had already been deleted or moved by another process, and the Finder’s display hadn’t caught up. No further action is needed. If a file you actually need disappeared after the Finder relaunch, it was deleted by another process (Time Machine cleanup, a sync application, or a background task) — check Time Machine if you need to recover it.
Pro Tips: Preventing Mac Error Code -43
Always eject external drives before disconnecting them. The most preventable cause of Error -43 — particularly in the Trash and during file transfers — is physically unplugging an external drive while the Finder still has an active reference to its contents. Right-clicking a drive in the Finder sidebar and choosing Eject flushes all pending operations and removes the mount point cleanly. Files moved to the Trash from a drive that’s then disconnected create exactly the orphaned path entries that produce Error -43 when emptying the Trash later.
Empty the Trash regularly — don’t let it accumulate. A Trash that’s never emptied gradually accumulates files from drives that have since been reformatted, network shares that have changed, and external drives that no longer exist. Each of these creates a dormant Error -43 waiting to appear the next time you empty the Trash. A weekly Trash empty prevents this accumulation and keeps the Trash in a state where Option + Empty Trash can resolve any individual stubborn file quickly.
Use rsync for large file transfers instead of Finder drag-and-drop. The Finder’s copy mechanism has no resume capability — a disconnection or power interruption at any point in a large transfer starts the whole thing over and sometimes leaves ghost entries or Trash orphans behind. rsync (built into macOS) checks what has already been transferred and resumes from the last successfully copied file. For any transfer larger than a few hundred megabytes, rsync -av --progress /source/ /destination/ is more reliable and produces no Error -43 ghost entries. Check out our guide on freeing up MacBook storage for more ways to keep your drives healthy and transfer-ready.
Avoid filenames with special characters when sharing between platforms. Characters that are valid in macOS filenames — particularly colons (which macOS stores as forward slashes internally), question marks, asterisks, and angle brackets — are invalid in Windows filenames. Files with these characters can be created on Mac and opened on Mac, but any cross-platform operation involving them produces path errors including Error -43. For files shared between systems, stick to alphanumeric characters, spaces, hyphens, and underscores in filenames. Discover more time-saving Mac file management habits in our hidden Mac features guide.
Common Mistakes to Avoid
Error -43 (fnfErr) means the file path can’t be resolved — the system can’t find the file. Error -36 (ioErr) means the file was found but there was a physical read/write failure. They look similar on screen but have completely different causes and fixes. If you’re seeing “can’t be read or written” it’s Error -36 — dot_clean and Disk Utility First Aid. If you’re seeing “item can’t be found” or “cannot be deleted” it’s Error -43 — the fixes in this guide apply.
The Terminal command sudo rm -rf ~/.Trash/* is safe because ~/.Trash/* targets specifically the contents of your Trash folder. Never remove the ~/.Trash/* path from this command and never substitute a different path without verifying it exactly. An error in the path — or running sudo rm -rf / — is catastrophic and irreversible. Copy the command from this guide rather than typing it from memory.
The chflags nouchg command removes the locked attribute from any file, including system files that macOS locks for good reason. Unlocking and deleting a locked system file can break macOS in ways that require a reinstall to fix. Only use chflags on files in your home folder, the Trash, or external drives — not on anything in /System, /Library, or /usr unless you’ve specifically confirmed via research that the file is safe to remove.
If Disk Utility’s First Aid reports errors it could not repair, continuing normal operations on that drive carries real risk. The directory structure has damage that software can’t fix, which means path resolution failures — exactly what Error -43 reports — will continue to appear and may worsen. Back up every accessible file on the drive immediately and either reformat or replace it. Treating unrepaired disk errors as minor is how data loss happens.
FAQ: Mac Error Code -43
What does Mac Error Code -43 mean?
Mac Error Code -43 means “File Not Found Error” — internally labelled fnfErr in macOS’s error table. It appears when the operating system attempts to perform an operation on a file (move, copy, delete, or open) and cannot resolve the file’s path to a physical location on the drive. This typically appears as “The operation can’t be completed because the item [filename] can’t be found” or “The item can’t be deleted because it can’t be found.” The most common causes are files in the Trash whose source drive is no longer connected, files held open by another application, locked files, and stale Spotlight index entries pointing to moved or deleted files.
How do I fix Mac Error Code -43 when emptying the Trash?
When Mac Error Code -43 appears while emptying the Trash, the fastest fix is to hold the Option key while clicking Empty Trash — this skips the source path verification that triggers the error. If that doesn’t work, open Terminal and run sudo rm -rf ~/.Trash/*, enter your Mac password when prompted, and the entire Trash contents are deleted directly without path verification. For a single stubborn file in the Trash, open the Trash in Finder, right-click the problem file, select Get Info, and check whether the Locked checkbox is ticked — if it is, uncheck it and try emptying again.
Why can’t I delete a file — it says “cannot be found” but I can see it?
When a file is visible in the Finder but can’t be deleted because it “can’t be found,” the Finder is displaying a cached view that hasn’t updated to reflect the file’s actual current state. Either the file is locked (check Get Info → Locked), it’s held open by a running application (try quitting applications that might be using it), or it has invisible characters in its filename that break path resolution. Try relaunching the Finder first (hold Option, right-click Finder in Dock, select Relaunch) — if the file disappears after relaunch it was a ghost entry. If it persists, use Terminal’s rm command to delete it directly, dragging the file into Terminal to get the correct path.
Is Mac Error Code -43 the same as Error Code -36?
No — Error -43 and Error -36 are different errors with different causes and different fixes. Error Code -36 (ioErr) is an input/output error meaning the file path resolved successfully but a physical read or write failure occurred at the disk level — usually caused by AppleDouble metadata conflicts on FAT32 drives or bad sectors. Error Code -43 (fnfErr) is a file-not-found error meaning the path itself cannot be resolved — the file isn’t where the system expects it to be. Error -36 is fixed with dot_clean and Disk Utility; Error -43 is fixed with Terminal rm, chflags, and path resolution methods like relaunching the Finder.
Can Error Code -43 cause me to lose data?
Mac Error Code -43 itself does not delete or corrupt data — it’s a path resolution failure that prevents an operation from completing, not a destructive event. Files that trigger Error -43 remain intact at their storage location. The only data risk associated with Error -43 is if the error is caused by a drive with unrepaired directory errors (which Disk Utility’s First Aid will flag) — in that case, the directory damage itself is the risk, not the error code. Running First Aid confirms whether the drive’s directory is healthy.
Why does Spotlight show a file that gives Error -43 when I click it?
When a Spotlight result gives Mac Error Code -43 on clicking, it means the Spotlight index still has a record of a file that has since been moved, renamed, or deleted. Spotlight’s database updates periodically but not instantaneously — a file deleted or moved after the last index update will still appear in search results until the next index pass processes that change. The fix is to re-index Spotlight: go to System Settings → Siri & Spotlight → Spotlight Privacy, add your main drive to the exclusion list, wait 5 seconds, then remove it. This triggers a full re-index that removes stale entries pointing to files that no longer exist at their indexed paths.
Mac Error Code -43 — 12 Proven Fixes Checklist
- 1Restart the Mac — clears all file locks, application references, and path cache simultaneously
- 2Option + Empty Trash — hold Option key while clicking Empty Trash to skip source path verification
- 3Empty Trash via Terminal —
sudo rm -rf ~/.Trash/*; permanent and reliable; bypasses all Finder checks - 4Close the app using the file — use
lsof | grep "filename"to identify it; quit the app orkill -9 [PID] - 5Unlock the file — Get Info → uncheck Locked; or
chflags nouchg /path/to/filein Terminal - 6Delete via Terminal rm — drag file into Terminal after
rm;rm -rffor folders; combine with chflags for locked files - 7Fix file permissions — Get Info → Sharing & Permissions → set Read & Write; or
sudo chownandchmodin Terminal - 8Re-index Spotlight — System Settings → Spotlight Privacy; add then remove main drive; or
sudo mdutil -E / - 9Reconnect source drive — remount the external drive; verify source files intact; use rsync for resumable retransfer
- 10Run Disk Utility First Aid — select volume, click First Aid; run from Recovery Mode for internal drive issues
- 11Check for invisible characters in filename —
ls -la | cat -v; delete withrm *partialname*or tab-completion - 12Relaunch the Finder — Option + right-click Finder in Dock → Relaunch; or
killall Finderin Terminal
One Last Thing
Mac Error Code -43 is almost never as serious as it looks. The file isn’t gone, the drive isn’t failing, and the Mac isn’t broken. Path resolution failures are a well-understood class of macOS problem with fast, reliable fixes — and the option to hold down a key while clicking Empty Trash or run a single Terminal command resolves the majority of cases within 60 seconds of reading this guide.
The key insight is that Error -43 is a path problem, not a data problem. Your files exist. The system just can’t find them at the expected address. Understanding that distinction makes the right fix obvious: clear the stale path entry, release the file lock, or delete the file directly through a channel that doesn’t depend on path resolution. The fixes in this guide do exactly that.
Wrapping Up
Working through the checklist from Fix 1 resolves Error -43 in the vast majority of cases before reaching Fix 5. A restart and Option + Empty Trash together clear nine out of ten Trash-related occurrences. For files that won’t delete outside the Trash, chflags and Terminal rm are the fastest reliable solutions. Disk Utility First Aid and Spotlight re-indexing cover the remaining cases involving directory damage or stale index entries.
ⓘ Disclaimer: This article is for informational purposes only. CrazyErrors is not affiliated with Apple Inc. Terminal commands in this guide permanently delete files — always verify paths before pressing Return. The sudo rm -rf command is irreversible; copy it exactly as written and do not modify the target path. Information reflects macOS Tahoe (2026). For official Apple support, visit support.apple.com/mac.