

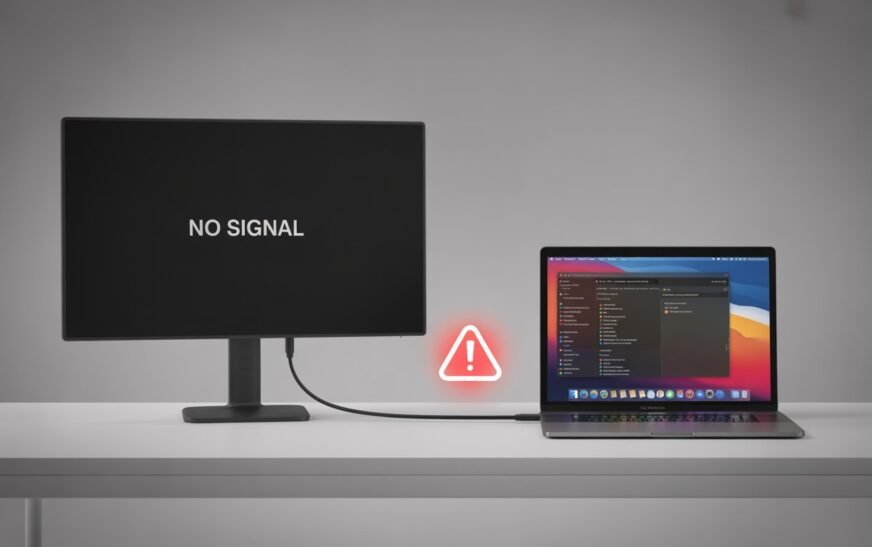
Quick Answer
When an external display is not recognized after restarting your M4 Mac Mini or M-series MacBook, the fastest fix is a Display SMC reset combined with reseating the cable. If the display still doesn’t appear, check System Settings → Displays → Detect Displays while holding the Option key. For a persistent issue, a full NVRAM/PRAM reset (hold Option + Command + P + R on boot) resolves most cases. The underlying cause is usually an incomplete handshake between Apple Silicon’s Thunderbolt controller and the monitor’s firmware after power cycling.
- Unplug the display cable, wait 10 seconds, replug
- Hold Option and click Detect Displays in System Settings
- Reset NVRAM: restart and hold Option + Command + P + R
- Power-cycle the monitor (off from its own power button, not just sleep)
- If nothing works: Safe Mode boot, then restart normally
Why Does This Happen?
Your M4 Mac Mini does not physically lose memory of your monitor between restarts — macOS remembers the display configuration. What actually fails is the Thunderbolt/HDMI handshake: a structured digital negotiation in which your Mac’s Thunderbolt controller (or HDMI port) and your monitor exchange EDID packets (Extended Display Identification Data). These packets tell your Mac the screen’s resolution, refresh rate, colour space, and HDR capabilities.
The problem is timing. When you restart, the Mac’s Thunderbolt controller powers back up in milliseconds, but many monitors take several seconds to fully initialise their firmware — especially VA and IPS panels that need a warm-up cycle. Apple Silicon Macs in particular have a very short handshake window compared to Intel-era MacBooks. If the monitor does not respond within that window, the Mac logs the port as “no display connected” and moves on. The display is physically there, but macOS has already decided it isn’t.
This is more common on M3 and M4 chips than on M1 and M2 for a subtle reason: Apple tightened the power management policy on the Thunderbolt fabric with the M3 generation. The controller enters a lower-power idle state faster after boot, which shrinks the retry window. Budget monitors, older 4K screens, and any display connected through a USB-C hub are the most frequent culprits because their firmware initialisation is slower.
Frequency Band Interference Diagram
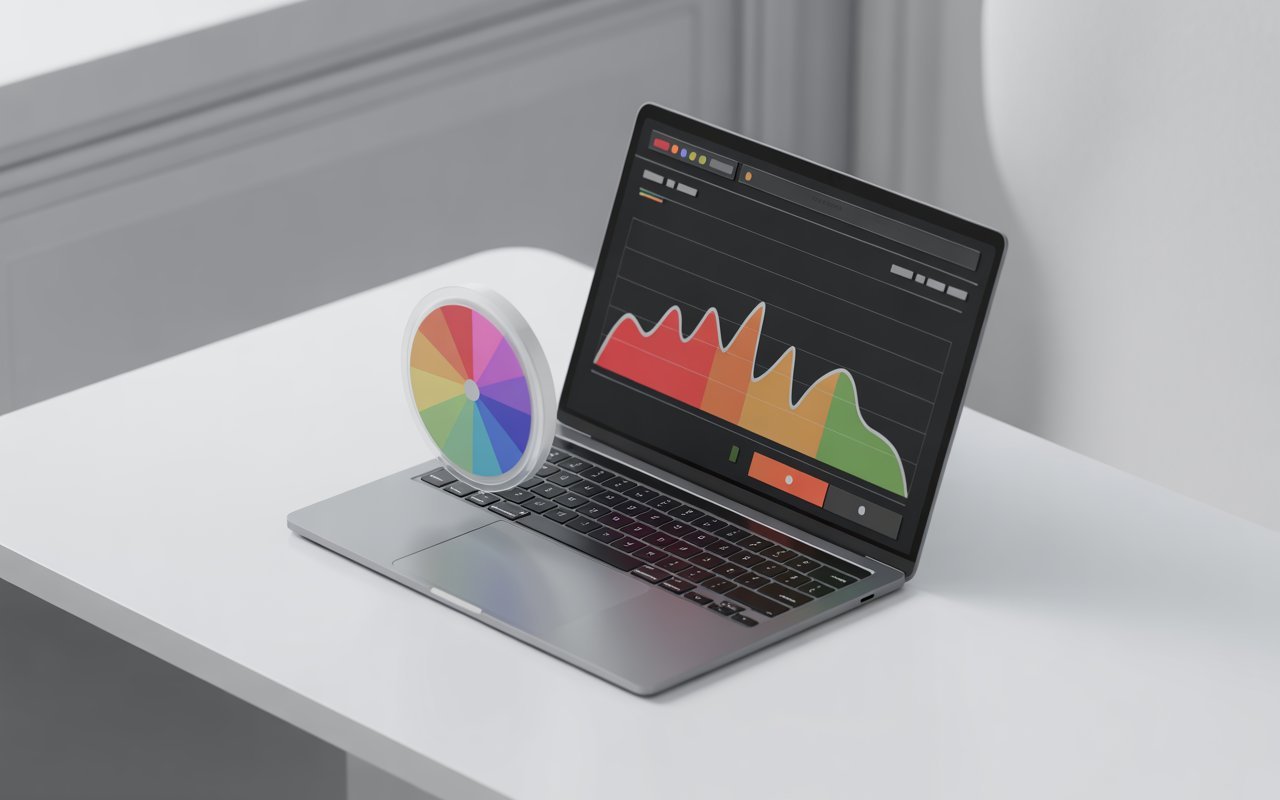
If your display issue disappears when you move your USB hub or accessories, you may be hitting a different (related) problem: USB 3.0 electromagnetic interference (EMI) bleeding into the 2.4 GHz Wi-Fi band. The diagram below shows why M4 Macs are sensitive to where you place your USB peripherals.
2.4 GHz · 5 GHz · 6 GHz vs USB 2.0 / USB 3.0 Overlap
When USB 3.0 accessories are placed close to your Mac — or use unshielded cables — the 5 Gbps clock frequency generates harmonic radiation that lands squarely in the 2.4 GHz band. This doesn’t directly break your display, but it can degrade the wireless signal between a USB-connected wireless keyboard/mouse dongle and your Mac, which can cause lag that looks like a display stutter. Moving to 5 GHz Wi-Fi eliminates this entirely.
Diagnosis: 3 Quick Tests Before You Fix Anything
Run these before any of the 11 fixes below. They’ll tell you exactly which category your problem falls into — and save you 20 minutes of unnecessary steps.
The Unplug Test
Unplug the display cable from both ends. Wait 10 full seconds. Replug. Does the display appear? If yes → timing issue, Fixes 1–3 will solve it. If no → hardware or driver issue, continue to Test 2.
The Different Cable Test
Try a different Thunderbolt 4 or certified HDMI cable. Swap the port too (use the other Thunderbolt port). If display appears → faulty cable or port. If still missing → software or firmware problem, go to Test 3.
The Speed Test
Open Safari and visit fast.com to check if your network is also slow. A degraded network alongside display issues can point to USB 3.0 EMI — meaning Fix 7 (cable management + ferrite) may be the real solution.
11 Fixes: Fastest to Most Thorough
Reseat the Display Cable
⏱ 30 secondsThe most common cause of a post-restart display failure is an incomplete Thunderbolt handshake, and the fastest fix is forcing a fresh one.
- Unplug the display cable from your Mac (not just the monitor end).
- Wait 10 seconds for the Thunderbolt controller to fully de-initialise the port.
- Plug back in firmly — you should hear or feel a click on Thunderbolt cables.
- If still not detected, try the other Thunderbolt port.
Use Detect Displays (with the Option Key)
⏱ 1 minutemacOS can re-scan display ports without a reboot. The Option key reveals the full version of this button.
- Open System Settings → Displays.
- Hold the Option key. The button in the bottom-right corner changes from “Detect Displays” to a more explicit “Detect Displays” with additional scanning.
- Click it while holding Option. macOS will force-poll all Thunderbolt and HDMI ports.
- Wait up to 15 seconds for the display to appear.
Power-Cycle the Monitor (Properly)
⏱ 2 minutesPutting a monitor to sleep is not the same as cycling its power. Many monitors retain their EDID state in a low-power mode, which means the Mac may still see a stale handshake.
- Turn the monitor completely off using its own physical power button — not just by letting it sleep.
- Unplug the monitor’s power cable from the wall.
- Wait 30 seconds.
- Plug the power back in, then turn the monitor on.
- Connect your Mac after the monitor’s OSD (on-screen display) menu has fully appeared.
Reset NVRAM / PRAM
⏱ 3 minutesNVRAM stores display configuration, resolution preferences, and port assignments. A corrupted NVRAM entry can make macOS ignore a physically connected display permanently.
- Shut down your Mac completely.
- Press the power button, then immediately hold Option + Command + P + R.
- Keep holding for 20 seconds (you’ll hear the startup chime twice on Intel Macs; on Apple Silicon, the Apple logo appears and disappears twice).
- Release and allow the Mac to boot normally.
- Reconnect your display after the desktop fully loads.
Delete Display Configuration Cache
⏱ 5 minutesmacOS stores per-display calibration profiles and window arrangement data. A corrupt cache file can prevent a display from being recognised.
- Open Finder → Go → Go to Folder (or press ⇧⌘G).
- Type:
/Library/Preferences/com.apple.windowserver.displays.plist - Move this file to the Trash (you may need to authenticate).
- Also navigate to
~/Library/Preferences/ByHost/and delete any files beginning withcom.apple.windowserver. - Restart your Mac and reconnect the display.
Try a Different Cable (and Go Direct)
⏱ 5 minutesNot all Thunderbolt cables are equal. USB-C cables that carry data at USB 2.0 speeds (common in cheap cables and phone chargers) cannot carry 4K video. A degraded Thunderbolt 3 cable may work at 1080p but fail the handshake at 4K/60 Hz.
- Try a cable rated for Thunderbolt 4 or at minimum USB4 40Gbps.
- Connect the display directly to the Mac, bypassing any hub, dock, or adapter.
- If using HDMI, make sure you are using an HDMI 2.0 or 2.1 cable — older HDMI 1.4 cables max out at 4K/30 Hz and can cause detection failures at higher modes.
Add Ferrite Cores to USB Cables
⏱ 5 minutes + hardwareThis is the fix most guides never mention. If you have USB 3.0 peripherals — hard drives, hubs, audio interfaces — within 20–30 cm of your Mac’s Thunderbolt ports, their 5 Gbps clock frequency emits EMI that can disrupt the Thunderbolt handshake signal. Ferrite cores (also called ferrite chokes or clip-on EMI filters) clamp around the cable and absorb this noise.
- Buy a pack of snap-on ferrite cores (look for “ferrite bead clip” on Amazon, around £5–10 for 10 cores).
- Clip a ferrite core at each end of every USB 3.0 cable — within 3–5 cm of the connector.
- Position the ferrite cores on the cable closest to your Mac (the source of interference).
- Re-route USB cables away from your Thunderbolt display cable — maintain at least 5 cm of physical separation.
- Restart and test.
↗ 12 Secret Mac Features Most Users Never Find
Safe Mode Boot to Clear Kext Cache
⏱ 10 minutesSafe Mode boots macOS with only Apple’s essential kernel extensions, disables all login items, and clears several system caches including the kernel extension cache. If a third-party graphics or display driver is causing the issue, Safe Mode will reveal it.
- Apple Silicon: Shut down → hold the power button until “Loading Startup Options” appears → select your volume → hold Shift → click “Continue in Safe Mode”.
- Intel Mac: Restart and hold Shift until the login screen appears.
- Once in Safe Mode, check whether your display appears. If it does, the problem is a third-party extension or login item.
- Restart normally. The cache clear from Safe Mode often fixes the issue permanently.
Update or Reinstall Display-Related Drivers
⏱ 15 minutesIf you use a third-party USB-C dock, DisplayLink adapter, or a monitor brand that ships its own macOS driver (some EIZO, NEC, and BenQ models do), an outdated driver is a likely culprit — especially after a macOS update.
- Check your dock/adapter manufacturer’s website for a macOS Sequoia-compatible driver update.
- For DisplayLink devices: download the latest DisplayLink Manager from the official site.
- Uninstall the old driver completely before installing the new one (most have a dedicated uninstaller).
- Restart and reconnect.
Create a New User Account (Isolation Test)
⏱ 10 minutesIf the display works fine on a fresh user account but not your main account, the problem is a corrupted preference file or a login item in your account — not a hardware issue.
- Open System Settings → Users & Groups → Add Account.
- Create a temporary Standard user.
- Log out of your account and log into the test account.
- Connect the display and restart from within the test account.
- If the display is detected normally after restart, your main account has corrupted display preferences. Run Fix 5 (delete display cache) on your main account.
↗ MacBook Storage Full? Here’s How to Fix It Fast
Use Ethernet When Docked — The Permanent Desk Solution
⏱ 5 minutes to set upThis isn’t just a workaround — for anyone using an M4 Mac Mini as a permanent desk setup, this is the right long-term configuration. Connecting via Ethernet eliminates the USB 3.0 EMI problem entirely, removes a variable from display troubleshooting, and gives you faster, more reliable networking.
- Plug a CAT6 or CAT6A Ethernet cable directly from your router or switch into the Mac Mini’s built-in Ethernet port.
- Open System Settings → Wi-Fi and turn Wi-Fi off, or leave it on as a fallback — macOS will prefer the wired connection automatically.
- All USB 3.0 peripherals now only compete for Thunderbolt bandwidth, not wireless spectrum.
Frequently Asked Questions
Summary: 11 Fixes at a Glance
Quick Reference
- Reseat the cable — unplug, wait 10 s, replug. Fixes most post-restart failures.
- Option + Detect Displays — force macOS to re-poll all ports.
- Power-cycle the monitor — full power off, not just sleep; unplug from wall.
- Reset NVRAM/PRAM — Option + Cmd + P + R at boot; clears display config cache.
- Delete WindowServer display cache — removes corrupted profile files.
- Try a different (certified) cable — and go direct, no hub.
- Add ferrite cores to USB 3.0 cables — suppresses EMI near Thunderbolt ports.
- Safe Mode boot — clears kext cache; reveals conflicting extensions.
- Update DisplayLink / dock drivers — critical after any macOS version update.
- New user account test — isolates account-level vs system-level problems.
- Switch to Ethernet at your desk — eliminates Wi-Fi interference permanently.


1 Comment
[…] habit with the highest return on preventing intermittent -3900 network timeout errors. Our guide on Mac external display not recognised covers related network and connection troubleshooting that applies to your wider Apple ecosystem […]