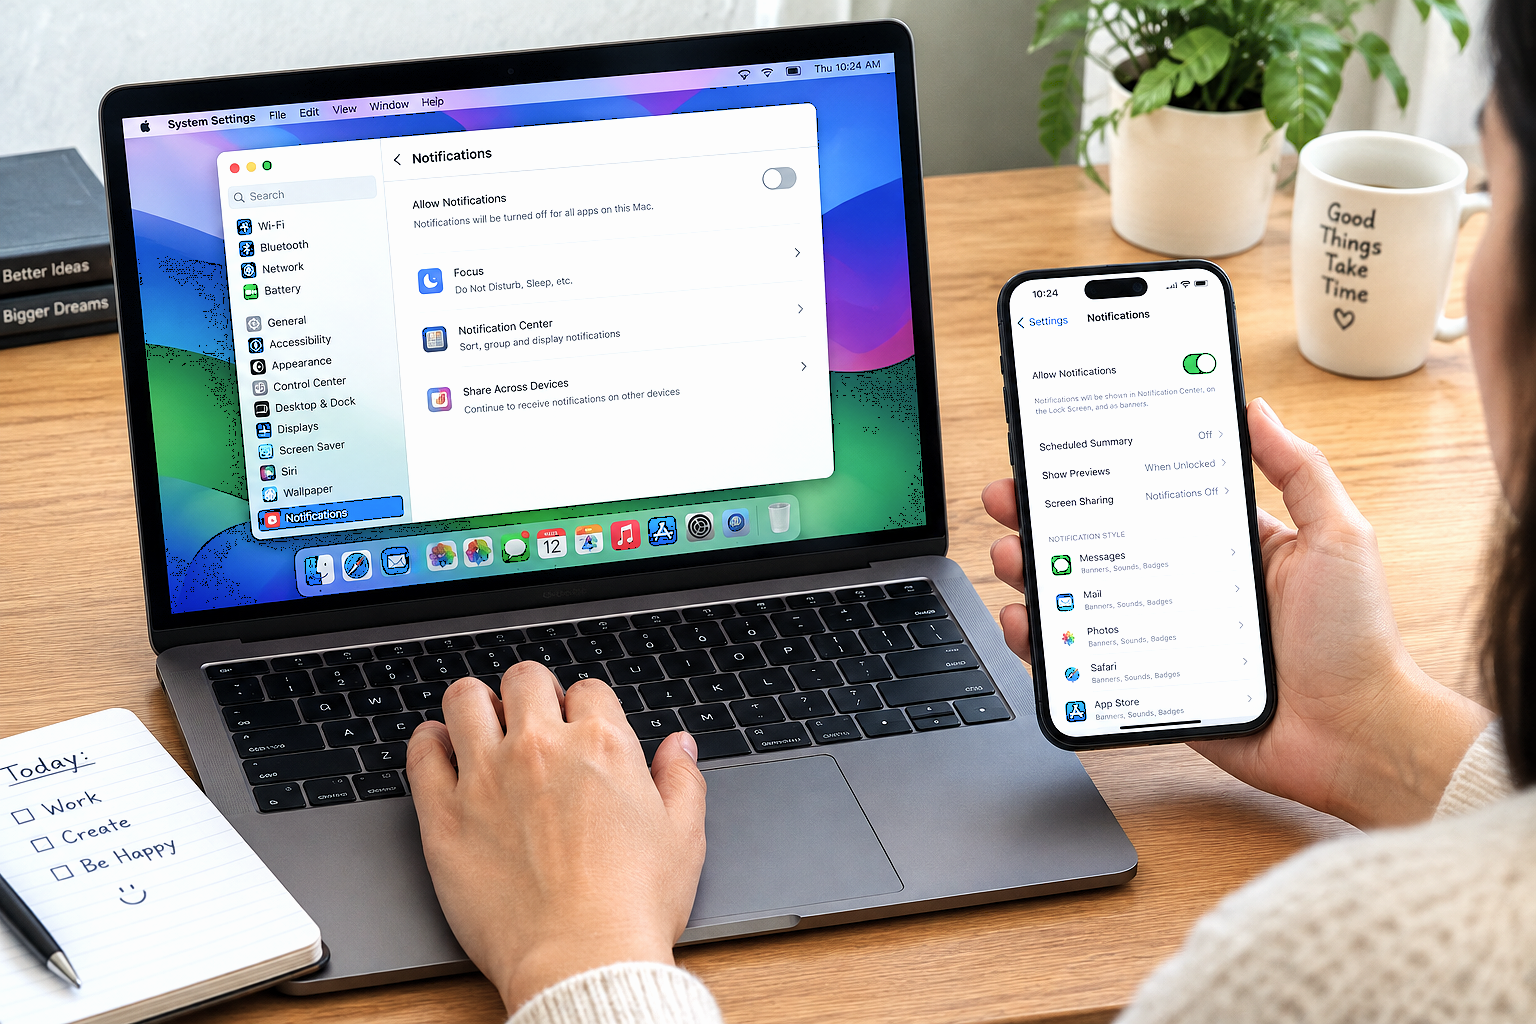

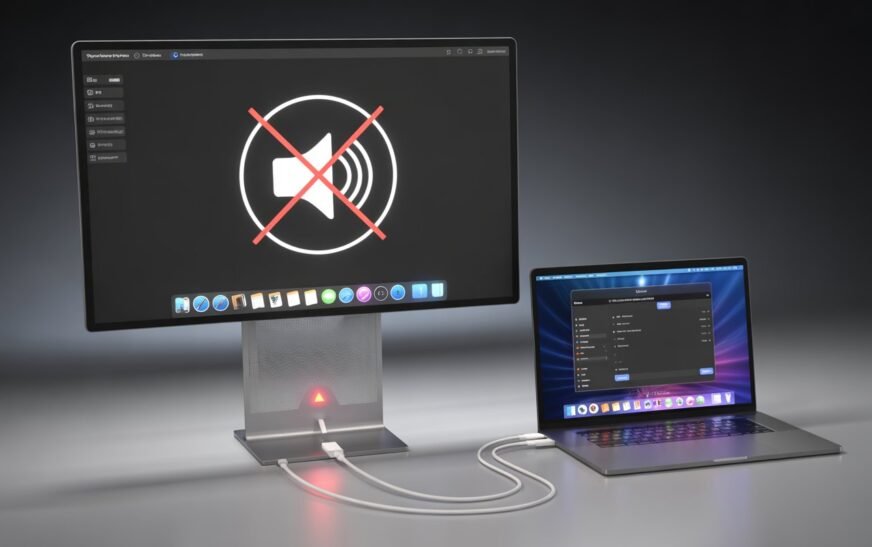
Thunderbolt display audio stopping after macOS Tahoe is almost always caused by one of three things: macOS switched the audio output back to MacBook speakers and didn’t reroute it to the display, the Core Audio daemon lost track of the display’s audio device during the update, or Tahoe’s new Thunderbolt audio routing logic set a mismatched sample rate. The fastest fix is to open System Settings → Sound → Output and manually re-select your display as the output device. If the display doesn’t appear in the list, run sudo killall coreaudiod in Terminal to reset Core Audio and reconnect the Thunderbolt cable.
You updated to macOS Tahoe, reconnected your Thunderbolt display, and everything looks fine — the picture is there, your setup looks exactly as it always has. But the audio is coming out of the MacBook’s tiny built-in speakers instead of your display’s speakers or the headphones plugged into the display’s headphone jack. Or worse, no audio at all — the volume control is greyed out or the display doesn’t appear in the sound output list anywhere.
This is one of those post-update problems that hits a very specific group of users hard — people with Thunderbolt displays, Thunderbolt docks with audio output, or USB-C monitors that carry audio over the Thunderbolt connection. Everything was working cleanly before Tahoe, and the update broke the audio routing between macOS and the display without touching anything else.
The hardware is fine. The display hasn’t changed. macOS Tahoe rewrote parts of the Thunderbolt audio handling stack and left some display audio configurations in a state that needs to be manually corrected. This guide walks through every fix, in the right order, so you can get your display audio working again without needing to reinstall macOS or replace any hardware.
First: Identify Exactly What’s Happening With Your Audio
Identifies the Right Fix in 60 SecondsThunderbolt display audio failures after Tahoe take a few different forms. Identifying yours narrows down which fix to apply first.
🔊 Audio plays from MacBook speakers instead of display
You can hear audio fine, but it’s coming from the built-in MacBook speakers rather than your Thunderbolt display or dock. macOS switched the default output device after the update. Fix 1 resolves this in under one minute.
❌ Display doesn’t appear in Sound Output list at all
You go to System Settings → Sound → Output and your display or dock’s audio device simply isn’t listed. Core Audio has lost track of the device. Fix 2 (coreaudiod restart) and Fix 3 (reconnect cable) address this directly.
🔇 Volume slider is greyed out or stuck at zero
The display is listed as an output device but the volume control is completely greyed out or won’t move. This is a sample rate conflict or a Core Audio state issue. Fix 4 (Audio MIDI Setup) and Fix 2 are the right starting points.
🎧 Headphone jack on the display or dock has no audio
The display appears as an audio output and the MacBook routes sound to it correctly, but headphones plugged into the display’s 3.5mm jack produce no sound. The display’s internal audio routing — separate from the Thunderbolt audio path — may need a sample rate or device reset. Fix 4 and Fix 5 apply here.
🔁 Audio works when display is first connected, then stops
Display audio works immediately after connecting, but drops out after a few minutes, after sleep, or when switching apps. This is an intermittent Thunderbolt audio keepalive issue introduced in Tahoe. Fixes 6 and 7 address this pattern specifically.
This guide covers three types of display audio connection: Apple Pro Display XDR (Thunderbolt 3/4 only, audio via Thunderbolt), Thunderbolt docks (CalDigit, OWC, Belkin etc. with built-in speakers or 3.5mm output), and USB-C monitors with DisplayPort Audio (LG UltraFine, Dell, Samsung etc. that carry audio over the USB-C/Thunderbolt cable). The fixes are largely the same across all three, but a few steps are specific to each — notes throughout the guide flag which apply to which setup.
Why macOS Tahoe Breaks Thunderbolt Display Audio
Understanding the Root CauseThunderbolt display audio works differently from plugging headphones into a headphone jack or connecting a USB speaker. The audio signal travels alongside the video signal inside the same Thunderbolt cable — a protocol called DisplayPort Audio embedded within the Thunderbolt specification. macOS treats the display’s audio capability as a separate logical audio device, even though it’s physically the same cable as the video connection.
macOS Tahoe made significant changes to how it discovers, registers, and manages Thunderbolt-connected audio devices in the Core Audio device graph. Specifically:
Audio device registration order changed — Tahoe changed the sequence in which Thunderbolt devices are enumerated after system boot and after sleep/wake. In some configurations, the display’s audio device registers after macOS has already selected a default output — so macOS defaults to the MacBook’s built-in speakers and never switches to the display, even though it did so automatically under previous macOS versions.
Default audio output preference reset — Major macOS updates can reset the preferred audio output device back to the system default (built-in speakers). If you had your Thunderbolt display set as the default audio output, Tahoe may have cleared that preference during migration.
Thunderbolt audio sample rate handling changed — Tahoe changed how Core Audio handles sample rate negotiation for Thunderbolt-connected audio devices. Display audio endpoints that previously operated at 44.1 kHz may now be initialised at a different rate, causing the volume control to appear greyed out while the system and device are mismatched.
Power management conflicts — Tahoe’s updated Thunderbolt power management logic occasionally powers down the audio portion of the Thunderbolt link during low-activity periods even while the display itself remains on — causing audio to disappear mid-session without any visible indication of why.
Fix 1: Manually Set Display as Audio Output Device
Start Here — Takes 30 SecondsThis is the most common cause and the fastest fix. macOS Tahoe reset the audio output to MacBook’s built-in speakers during the update — the display is still a valid audio device, macOS just isn’t using it. You need to tell it to.
Hold Option and click the Volume icon in your Mac’s menu bar. A dropdown appears showing all available audio output devices. Click your display or dock’s audio device directly from this menu — no need to go into System Settings. This is the fastest way to switch output when you reconnect your display and audio doesn’t follow automatically.
If your Thunderbolt display or dock isn’t appearing in the Sound Output list at all, the audio device hasn’t registered with Core Audio. Don’t skip ahead — continue with Fix 2 first, then come back to this step. The display needs to appear in the list before you can select it.
Fix 2: Restart Core Audio (coreaudiod)
Essential Fix — No Restart NeededWhen your Thunderbolt display’s audio device isn’t appearing in the Sound Output list, Core Audio has lost its registration of the device — it knows the display is connected (the picture is there) but hasn’t properly registered the audio endpoint. Restarting the Core Audio daemon forces it to re-enumerate all connected audio devices including Thunderbolt-connected ones.
sudo killall coreaudiodKilling coreaudiod forces macOS to restart the entire audio daemon from scratch. On restart, it re-enumerates every connected audio device — including Thunderbolt display audio endpoints that failed to register correctly after the Tahoe update. This is the single most effective fix for a display that’s connected but missing from the audio output list.
Fix 3: Unplug and Reconnect the Thunderbolt Cable
Forces Full Re-EnumerationSometimes Core Audio needs more than a daemon restart to recognise the display’s audio device — it needs the physical Thunderbolt connection to be re-established so the operating system goes through the full device discovery sequence from the beginning. This is especially effective when the display appeared correctly before but stopped showing audio after the Tahoe update installed overnight.
sudo killall coreaudiod in Terminal first (Fix 2 above)On MacBook Pro M3 and M4 models, there are three Thunderbolt ports — two on the left side and one on the right (or three on the left depending on model). If audio consistently fails on one port but you haven’t tried others, connect the display cable to a different Thunderbolt port. Some post-Tahoe Thunderbolt audio issues are port-specific, caused by the controller on one Thunderbolt bus losing the audio endpoint while another bus handles it correctly.
Fix 4: Fix Sample Rate in Audio MIDI Setup
For Greyed-Out Volume or Distorted AudioIf your display appears in the audio output list but the volume slider is greyed out, or the audio is playing but sounds distorted or at the wrong speed, a sample rate mismatch between macOS and the display’s audio device is the cause. macOS Tahoe changed the default sample rate initialisation for Thunderbolt audio devices on some MacBook configurations.
Some Thunderbolt docks and displays expose both an audio output and an audio input device in Audio MIDI Setup (for the microphone or line-in on the dock). Make sure both are set to the same sample rate — a mismatch between the input and output sample rates on the same device can cause the volume to appear greyed out even when only the output is being used.
Fix 5: Set Display Audio as Default in Audio MIDI Setup
Prevents macOS Switching Back to Built-In SpeakersEven after you select the display as the output device in System Settings, macOS Tahoe has a habit of switching back to built-in speakers — particularly after sleep, after reconnecting the display, or after switching apps. Setting the display as the system default output device in Audio MIDI Setup gives it a higher priority in macOS’s audio routing preferences and makes the selection stick.
Selecting the output in System Settings → Sound is a session preference — macOS may override it after sleep or reconnection. Setting it in Audio MIDI Setup registers it as the system default at the Core Audio level, which is more persistent and survives sleep/wake cycles more reliably under macOS Tahoe.
Fix 6: Disable Automatic Output Switching
Stops macOS Rerouting Audio Without PermissionmacOS Tahoe introduced and expanded a feature that automatically switches audio output when a new device is connected or when certain apps launch. While this sounds helpful, it’s the direct cause of audio jumping between your display and your MacBook speakers unexpectedly — especially when you reconnect the Thunderbolt cable, wake from sleep, or open a media app.
The automatic output switching feature was refined across macOS Ventura, Sonoma, and Tahoe. The exact setting name and location may differ slightly from the description above depending on your specific Tahoe build. If you don’t see an explicit toggle, the workaround is to use a third-party audio management utility like SoundSource by Rogue Amoeba, which gives granular control over which apps use which audio devices and prevents macOS from overriding your preferred output.
Fix 7: Delete Corrupted Audio and Thunderbolt Preference Files
Deep Clean — Resets Audio Routing From ScratchDuring the macOS Tahoe update, preference files that store your audio device configuration and Thunderbolt device routing can become corrupted — containing settings from the previous macOS version that conflict with Tahoe’s new audio handling. Deleting these files forces macOS to recreate them cleanly on the next boot.
~/Library/Preferencescom.apple.audio.DeviceSettings.plistcom.apple.audio.SystemSounds.plistcom.apple.coreaudio.plist
/Library/Preferencescom.apple.audio.DeviceSettings.plist to your Desktop if it exists there too
Keep the original preference files on your Desktop for at least 24 hours. If something unexpected breaks — system sounds stop working, audio apps lose their settings — you can move the originals back to restore your previous configuration. Only delete the Desktop copies once you’ve confirmed everything works correctly.
Fix 8: Check Thunderbolt Cable and Port
Physical Check — Often OverlookedA Thunderbolt cable that’s working for video may not be reliably passing the audio sideband. Thunderbolt cables have separate data lanes for video, data, and audio — and a cable with marginal signal quality may maintain the video connection while intermittently dropping the audio channel. This becomes more likely on longer cables or cables that have been bent sharply near the connectors.
USB-C cables and Thunderbolt cables use the same physical connector but are not the same cable internally. A USB-C cable carries data at USB speeds and may not carry DisplayPort Audio at all — or may carry it unreliably. For Thunderbolt displays and docks, always use a cable explicitly marked Thunderbolt 3 or Thunderbolt 4 (look for the lightning bolt icon on the cable or packaging). Using a generic USB-C cable is a common but non-obvious cause of Thunderbolt display audio failures.
Fix 9: Reset NVRAM (Intel Macs) / Safe Boot (Apple Silicon)
Clears Low-Level Audio Hardware StateOn Intel MacBooks, NVRAM stores hardware-level audio configuration including default output device preferences and audio routing flags. A corrupted NVRAM entry can cause audio to route to the wrong device persistently — resetting it clears the stored state and lets macOS Tahoe initialise it cleanly.
For Intel MacBooks — NVRAM Reset:
For Apple Silicon MacBooks (M1/M2/M3/M4) — Safe Boot:
Fix 10: Update macOS Tahoe and Display Firmware
Always Worth CheckingApple monitors reports of post-update audio and Thunderbolt issues closely and issues targeted fixes in point releases. Thunderbolt display audio problems — being a fairly specific and hardware-dependent category — often get addressed in the first or second Tahoe point update.
Thunderbolt docks from CalDigit, OWC, and Belkin have their own internal firmware that controls how they handle audio, USB, and power delivery. This firmware is updated independently of macOS and requires you to visit the manufacturer’s website or use their companion app. A dock running old firmware under macOS Tahoe is a very common and overlooked cause of audio issues that software fixes alone can’t resolve.
Fix 11: Reset All Settings as a Final Step
No Data Lost — Comprehensive Settings ResetIf audio from your Thunderbolt display is still not working after every fix above, resetting all system settings gives macOS Tahoe a completely clean configuration to work with — clearing every preference, routing table, and system setting back to Tahoe’s defaults without touching your apps, files, or personal data.
“Reset All Settings” and “Erase All Content and Settings” are entirely different actions. Reset All Settings wipes system preferences only — your files, apps, and data are completely untouched. Erase All Content and Settings is a full factory wipe that deletes everything. The option you want is the first one. Read the label carefully before confirming.
Pro Tips: Keeping Thunderbolt Display Audio Reliable on macOS Tahoe
Add a shortcut to switch audio output quickly. Hold Option and click the Volume icon in the menu bar to see and switch audio output devices in one step. If you regularly disconnect and reconnect your display, this is faster than opening System Settings every time. You can also add Sound to your Control Centre for even quicker access.
Use a short, certified Thunderbolt 4 cable. The shorter and higher-quality the cable, the more reliably it carries the audio sideband alongside the video signal. Apple’s own Thunderbolt 4 Pro Cable and Thunderbolt 4 Cable are the most reliable options for display audio. Third-party cables from Anker (Thunderbolt 4), CalDigit, and OWC are also consistently reliable.
If you use a Thunderbolt dock, always connect it to the same port. macOS builds a Thunderbolt device tree from the port the device is connected to. Switching ports between sessions can cause macOS to treat the dock as a new device, re-enumerating its audio endpoint and sometimes losing the default output preference. Pick one port for the dock and stick with it.
Keep your dock’s companion software updated. CalDigit’s TS Manager, OWC’s Thunderbolt Dock setup tools, and similar apps often include audio routing fixes and macOS Tahoe compatibility patches. Check for updates from the vendor’s website rather than relying solely on macOS Software Update to notify you.
Your Mac has more built-in audio tools than most people realise. Audio MIDI Setup, which we used in this guide, is just one of them. There are other hidden system utilities worth knowing — check out our guide on secret Mac features most users never discover for a full walkthrough. And if a full startup disk is making your audio or system issues worse, our guide on freeing up MacBook storage without deleting files covers every method.
Having trouble with the display connection itself, not just the audio? If your Thunderbolt display isn’t being recognised at all by your MacBook — no video, not just no audio — our guide on MacBook external display not being recognised covers the full display connection troubleshooting sequence.
Common Mistakes to Avoid
USB-C and Thunderbolt cables look physically identical but are fundamentally different. A USB-C cable will carry power and may carry video (via DisplayPort Alt Mode) but will not reliably carry Thunderbolt audio. If your display audio worked before Tahoe with a particular cable but stopped after the update, the update may have changed how aggressively it tries to negotiate the Thunderbolt audio channel — exposing a cable that was already marginal. Try a certified Thunderbolt 3 or Thunderbolt 4 cable.
A greyed-out volume slider in System Settings almost always means a sample rate mismatch in Audio MIDI Setup — not a hardware fault. Many users see the grey slider and assume the display audio is completely broken and reach for drastic fixes. Two minutes in Audio MIDI Setup setting the sample rate to 48000 Hz usually resolves it entirely.
macOS Tahoe’s automatic audio switching is inconsistent with Thunderbolt display audio — it works well for headphones and AirPods but not reliably for Thunderbolt-connected audio endpoints. Set the display as the default manually in Audio MIDI Setup (Fix 5) rather than expecting macOS to figure it out automatically every session.
A Thunderbolt dock from CalDigit or OWC running firmware from 2023 is not going to handle macOS Tahoe’s Thunderbolt audio stack changes without issues. Dock firmware updates are not delivered through macOS Software Update — they require visiting the manufacturer’s website or using their utility app. This step gets skipped by the majority of users experiencing persistent dock audio issues.
FAQ: Thunderbolt Display Audio Not Working After Tahoe
Why is my Thunderbolt display audio not working after the macOS Tahoe update?
macOS Tahoe changed how it initialises and routes audio for Thunderbolt-connected displays and docks. The most common result is the audio output preference reverting to the MacBook’s built-in speakers, or the display’s audio device failing to register with Core Audio during startup. The quickest fix is to open System Settings → Sound → Output and manually select your display, then run sudo killall coreaudiod in Terminal if the display doesn’t appear in the list.
My Thunderbolt display isn’t showing up in the Sound Output list — why?
Core Audio hasn’t registered the display’s audio device, which happens when the Thunderbolt audio endpoint fails to enumerate after the Tahoe update. Run sudo killall coreaudiod in Terminal to restart the audio daemon, then unplug and reconnect the Thunderbolt cable. This forces a full device re-enumeration and usually brings the display back into the output list within seconds.
The volume control is greyed out for my Thunderbolt display — how do I fix it?
A greyed-out volume slider almost always indicates a sample rate mismatch between macOS and the display’s audio device. Open Audio MIDI Setup (search in Spotlight), select your display’s audio device in the sidebar, and change the Format dropdown to 48000.0 Hz. Then re-select the display as your output in System Settings → Sound. The volume slider should become active immediately after the sample rate is corrected.
Audio from my Thunderbolt display works, then stops after sleep — how do I stop this?
This is a Thunderbolt audio keepalive issue introduced in macOS Tahoe’s power management changes. After sleep, the audio endpoint doesn’t always re-register when the display wakes. Running sudo killall coreaudiod each time it happens resets it in seconds, but for a more permanent fix: disable HDMI CEC equivalents on your dock if available, disconnect and reconnect the cable after wake, or set the display as the system default output in Audio MIDI Setup so it has higher priority during wake re-enumeration.
Does this affect all Thunderbolt displays or just specific ones?
The issue affects displays and docks that carry audio over the Thunderbolt/DisplayPort Audio channel — which includes the Apple Pro Display XDR, LG UltraFine displays, and most Thunderbolt docks (CalDigit, OWC, Belkin, Kensington). Monitors that carry audio over a separate USB connection rather than Thunderbolt Audio are less affected. If your display has a USB cable for audio that runs separately from the Thunderbolt cable, connecting both cables and selecting the USB audio device as the output often bypasses the Thunderbolt audio issue entirely.
Is this a macOS Tahoe bug or a hardware fault?
For the vast majority of users experiencing this after the Tahoe update — when audio was working fine on the same hardware before the update — it’s a macOS Tahoe software issue, not a hardware fault. The display, cable, and MacBook are all fine. macOS Tahoe changed the Thunderbolt audio routing stack in ways that broke existing audio configurations on some setups. The fixes in this guide address the software causes. If the display audio doesn’t work even after a fresh macOS reinstall, a hardware issue becomes more likely — at that point an Apple Store inspection is the right next step.
Thunderbolt Display Audio Not Working — Fix Checklist
- 1Select display as output in System Settings → Sound → Output
- 2Restart Core Audio: run
sudo killall coreaudiodin Terminal - 3Unplug and reconnect the Thunderbolt cable to force re-enumeration
- 4Fix sample rate in Audio MIDI Setup — try 48000 Hz for greyed-out volume
- 5Set display as system default in Audio MIDI Setup — right-click → Use for Sound Output
- 6Disable automatic output switching in System Settings → Sound
- 7Delete audio preference files and restart for a clean configuration
- 8Check Thunderbolt cable — use a certified TB3/TB4 cable, try a different port
- 9Reset NVRAM (Intel) or Safe Boot (Apple Silicon) to clear hardware audio state
- 10Update macOS Tahoe and dock firmware for Apple’s targeted fix
- 11Reset All Settings as a last resort — no data lost
One Last Thing
If you’ve worked through every fix here and Thunderbolt display audio is still not coming through, it’s worth ruling out the cable as the last variable — borrow a known-good Thunderbolt 4 cable from a colleague or Apple Store and test with that before concluding anything is permanently wrong. A marginal cable that was holding together under the previous macOS audio stack sometimes stops working cleanly when the stack changes in an update.
The CrazyErrors team is happy to help with your specific setup — let us know your MacBook model, display or dock brand and model, and which step in this guide the audio is behaving differently at. That context usually points straight to the specific cause.
Wrapping Up
Thunderbolt display audio failing after macOS Tahoe is frustrating precisely because everything else works — the video is there, the display looks fine, and it feels like something should be simple that isn’t. In reality, the fix usually is simple: Core Audio needs to be restarted, the output device needs to be manually selected, and the sample rate needs to be confirmed in Audio MIDI Setup.
Most users reading this guide will have their display audio working again after Fix 1 and Fix 2 combined. For everyone else, the remaining fixes cover every configuration and scenario systematically. Your hardware is almost certainly fine — macOS Tahoe just needs to be told, clearly and deliberately, where your audio should go.
ⓘ Disclaimer: This article is for informational purposes only. CrazyErrors is not affiliated with Apple Inc. or any third-party manufacturer mentioned. Terminal commands should be entered exactly as shown. Results may vary depending on your MacBook model, macOS Tahoe version, and display or dock hardware. For official Apple support, visit support.apple.com.